
Alright, so want a 3D printer, but – which one to choose? In this video, I want to help you plot out what your use case is, what that requires in a machine, and what to generally look for, and what to avoid in a 3D printer.
The “Perfect” Printer
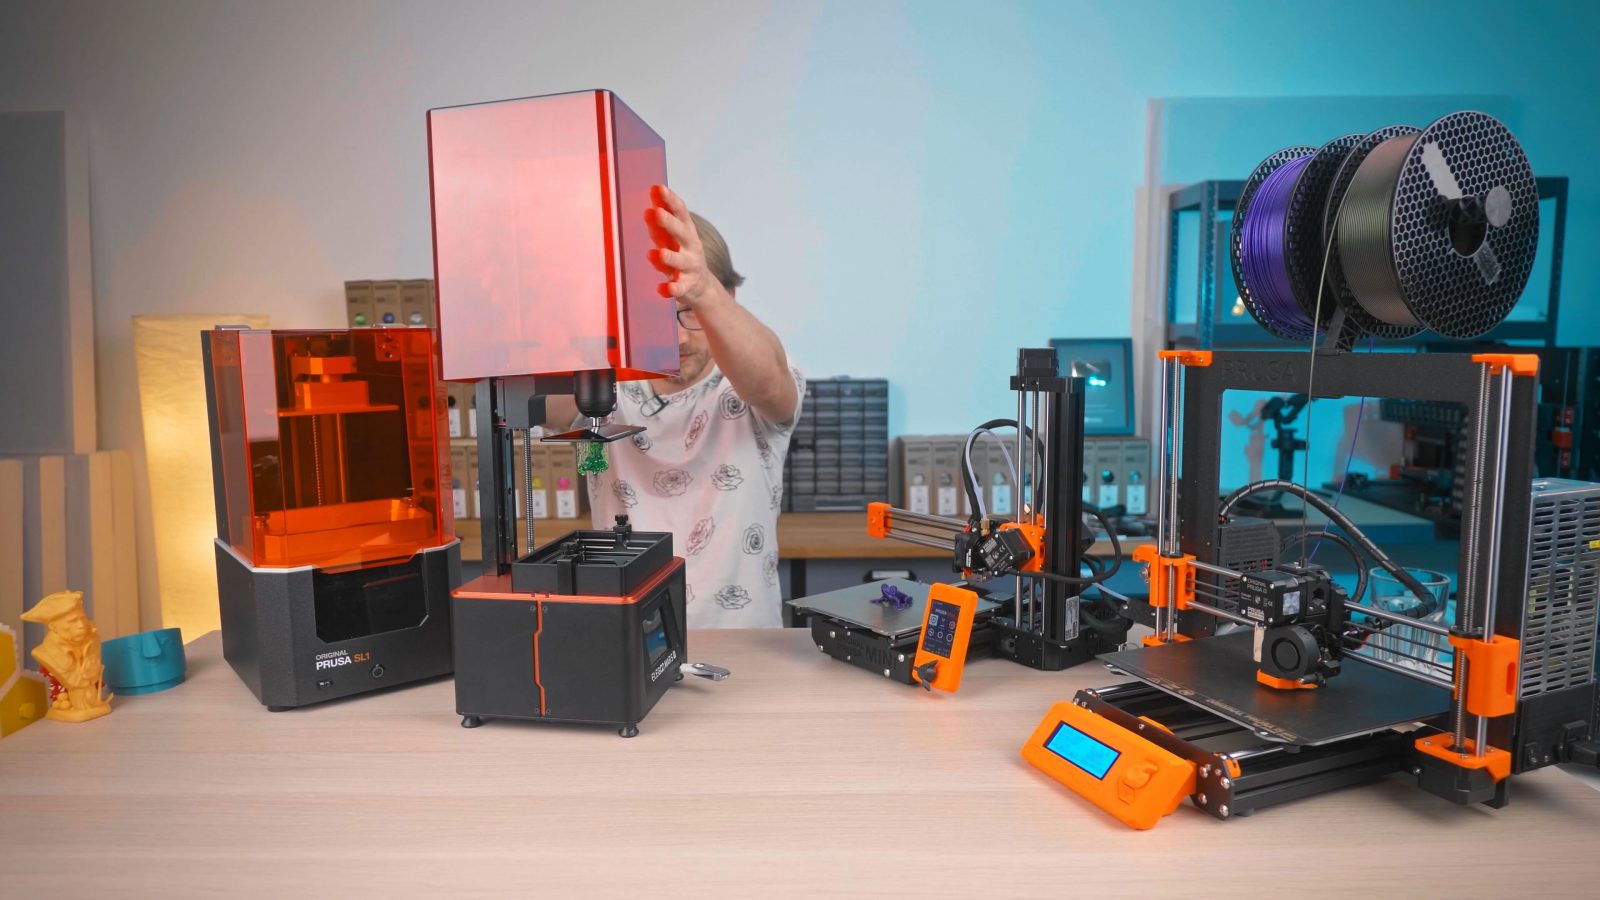
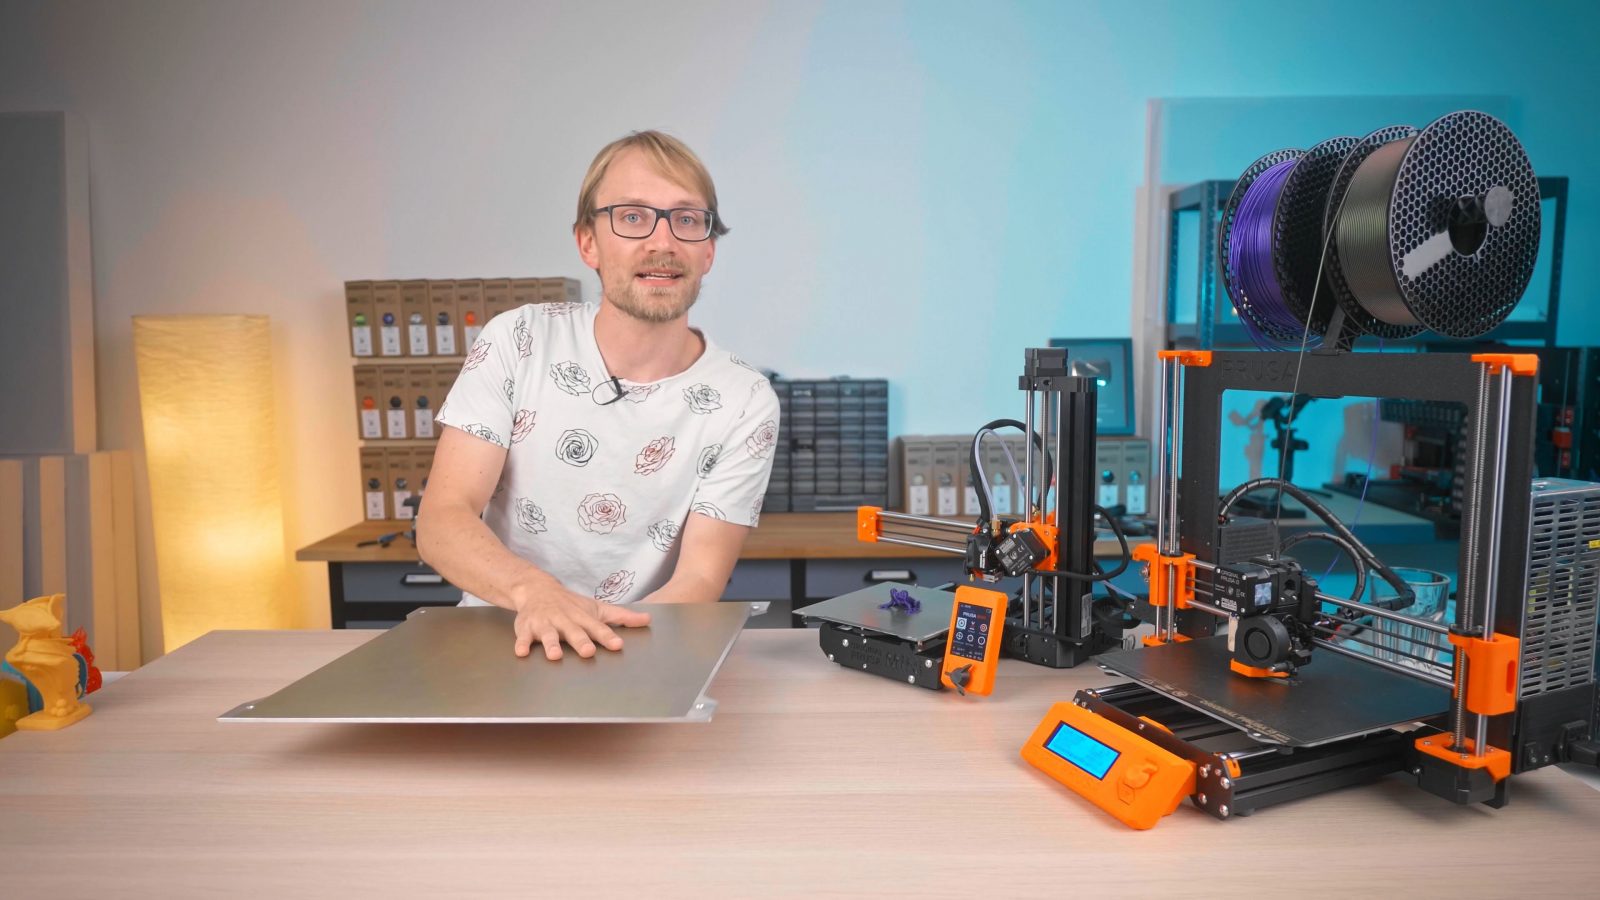
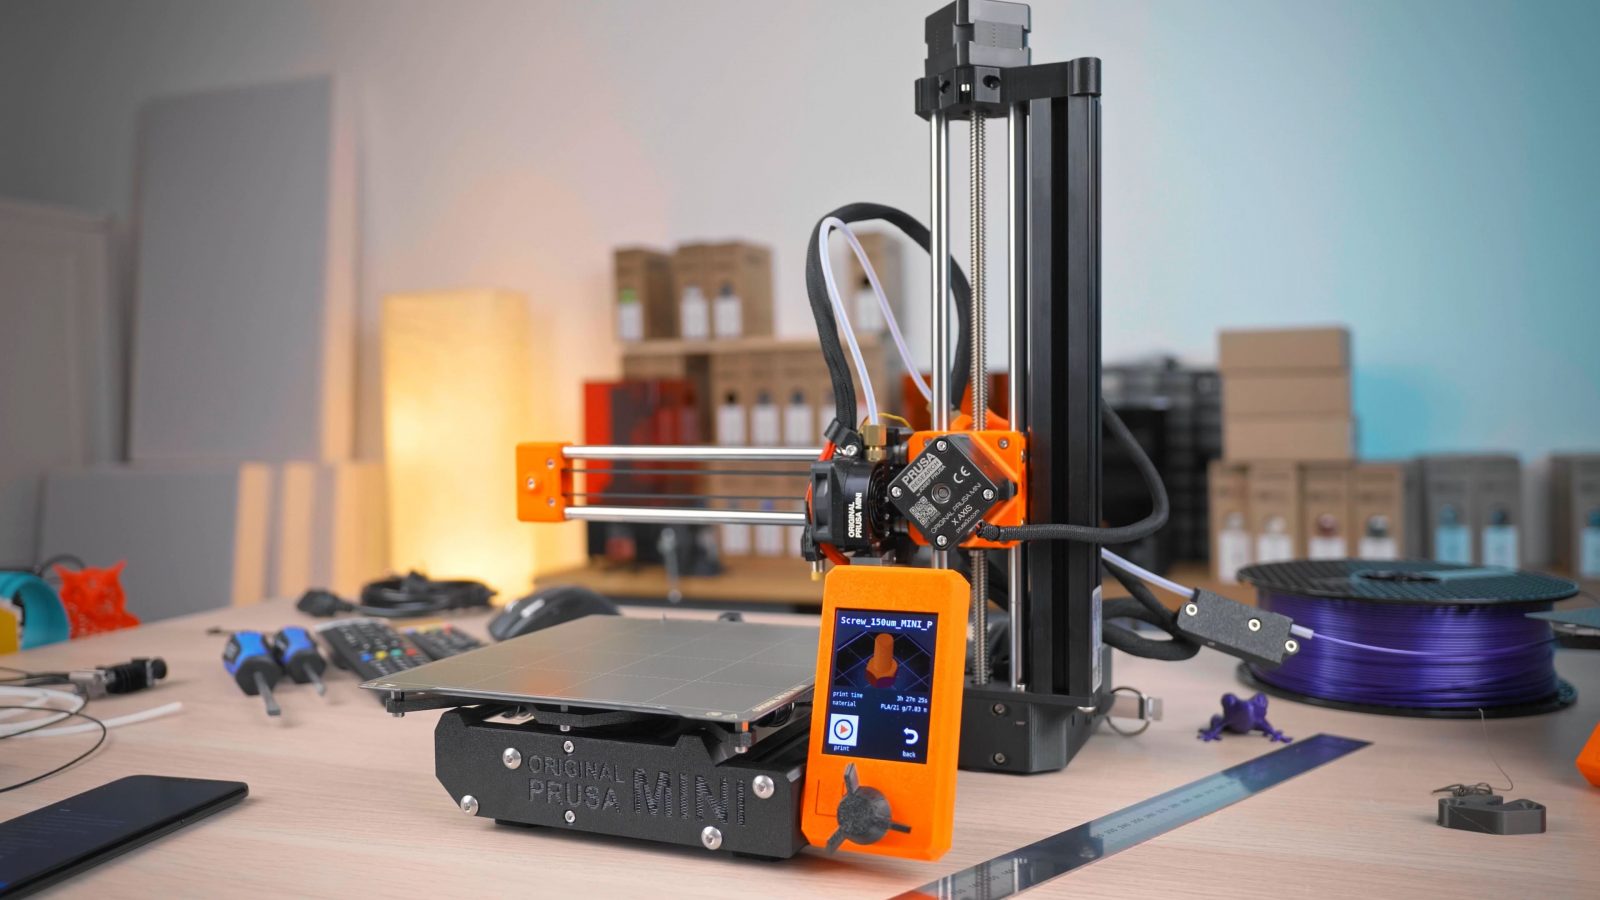
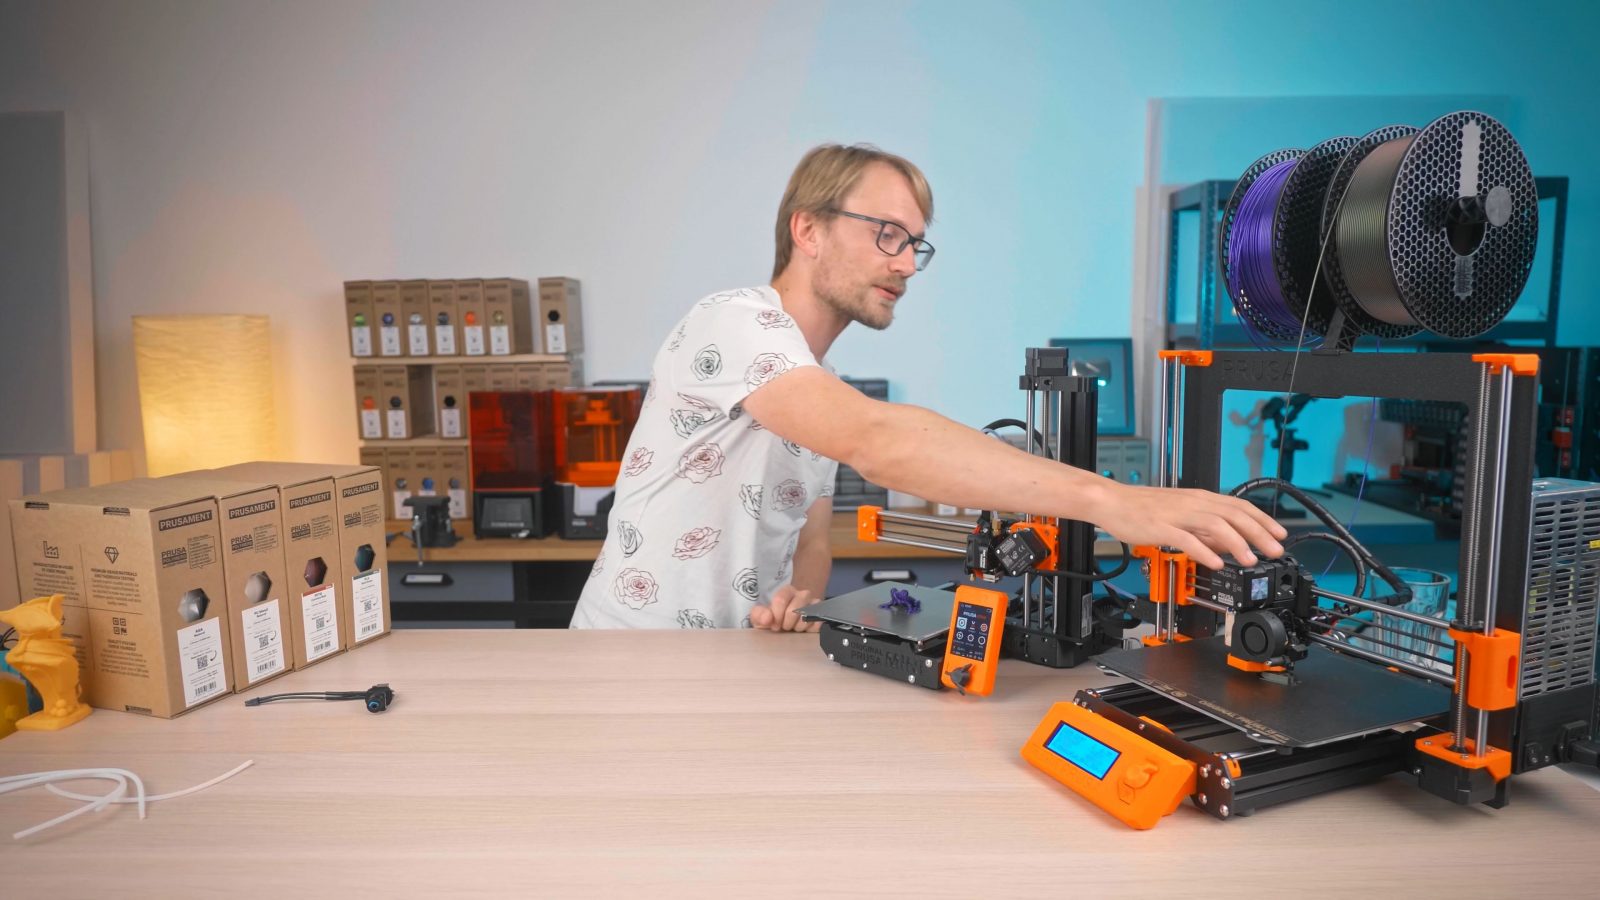
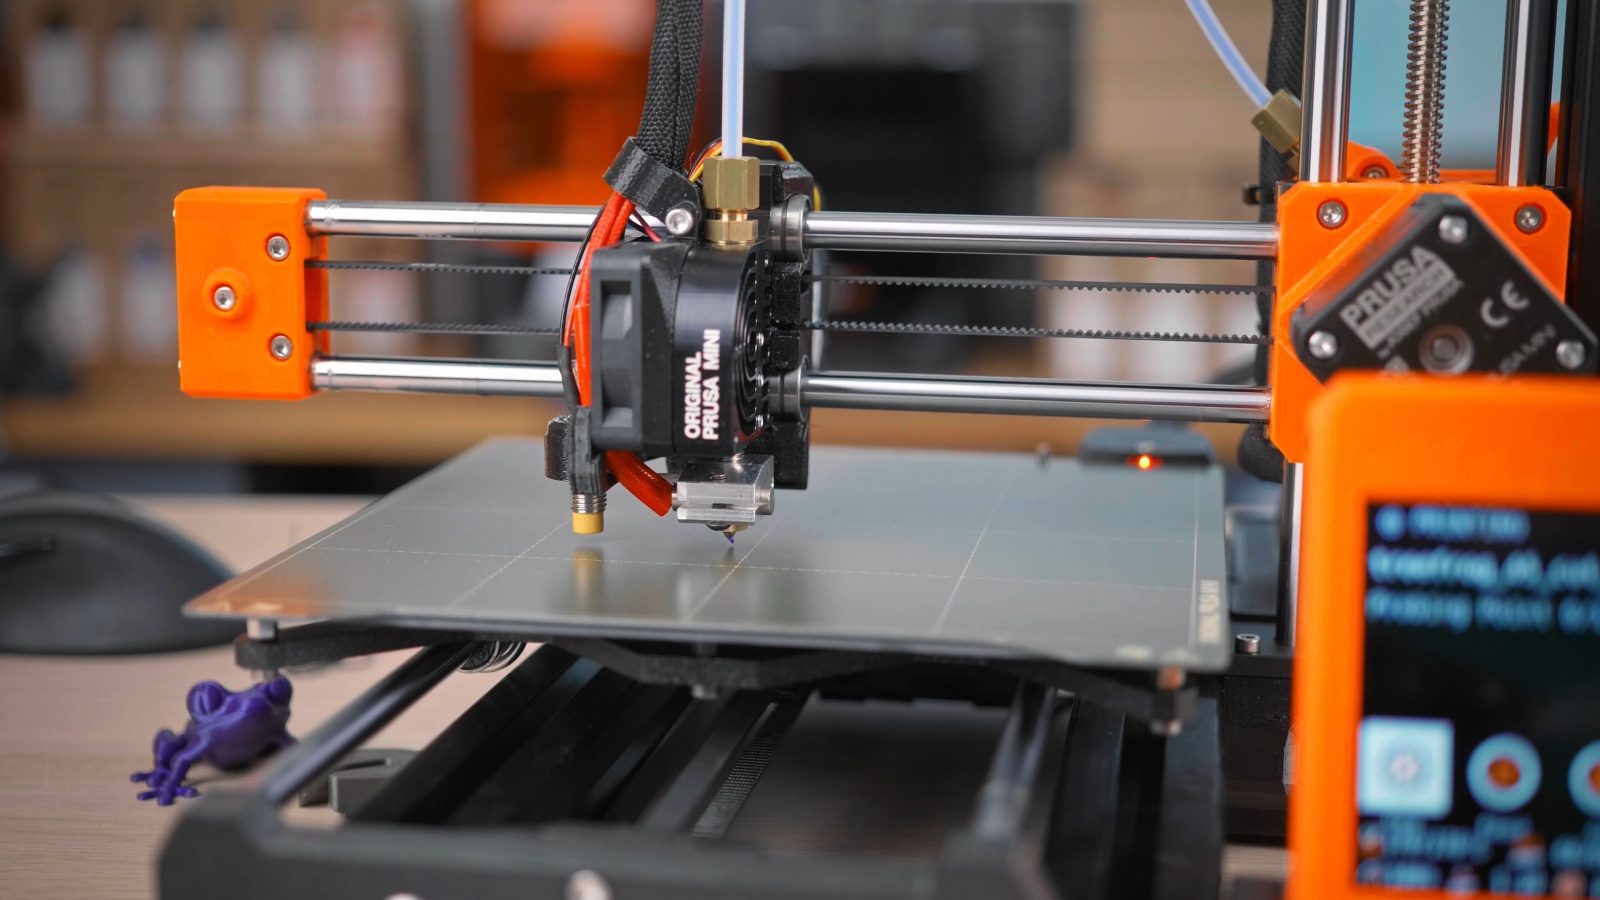
So first of all, there is no “best” or “perfect” 3D printer. Even when you find someone that claims that this one machine is the best 3D printer ever, it might be, but just for them, and it’s just for that one use case, which might just as well be totally different to what you actually want to do with the machine. And before we get into the meat and potatoes, I want to be very clear about why I chose Prusa for the filament and filament printer sponsor for this series, it’s because they are the machines that I personally use the most, they are a well “balanced” printers, and, most importantly, the MK3 and the Mini work well for demonstrating what I’m trying to show here on the series. On the same hand, just like any other printer, by no means are these machines the perfect choice for everyone, but they happen to work well for what I’m most often using 3D printers for.
Filament vs. Resin
So, what should you be looking for? Let’s take a quick look at resin vs. filament printers first. The next video in this series is actually going to be entirely about the ins and outs of resin printers, but let’s go over the brief version real quick:
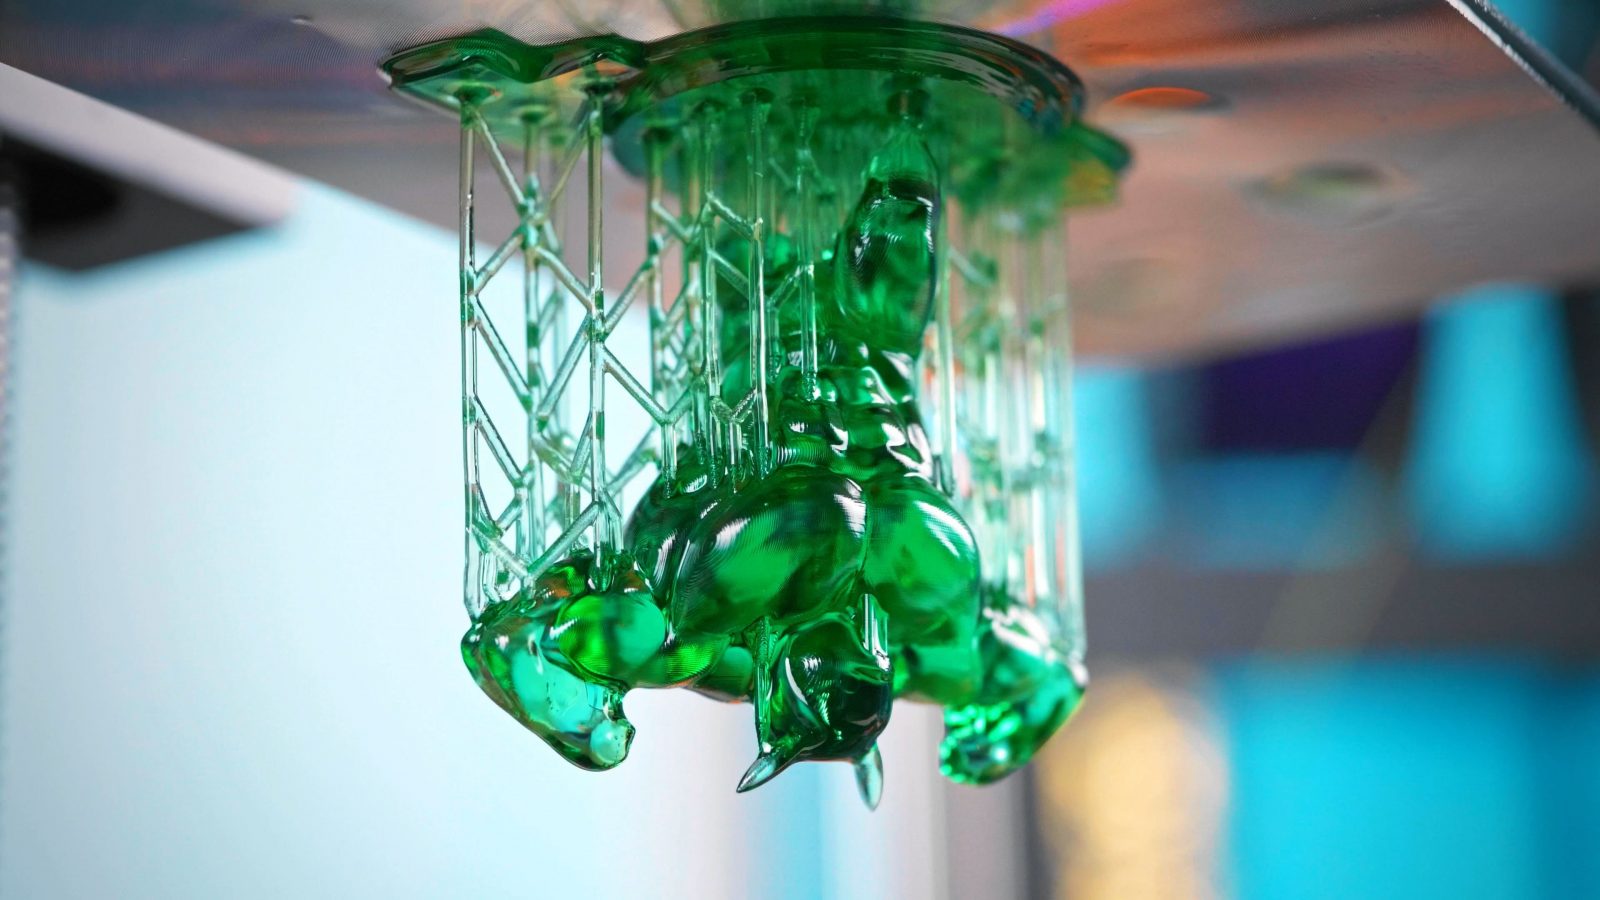
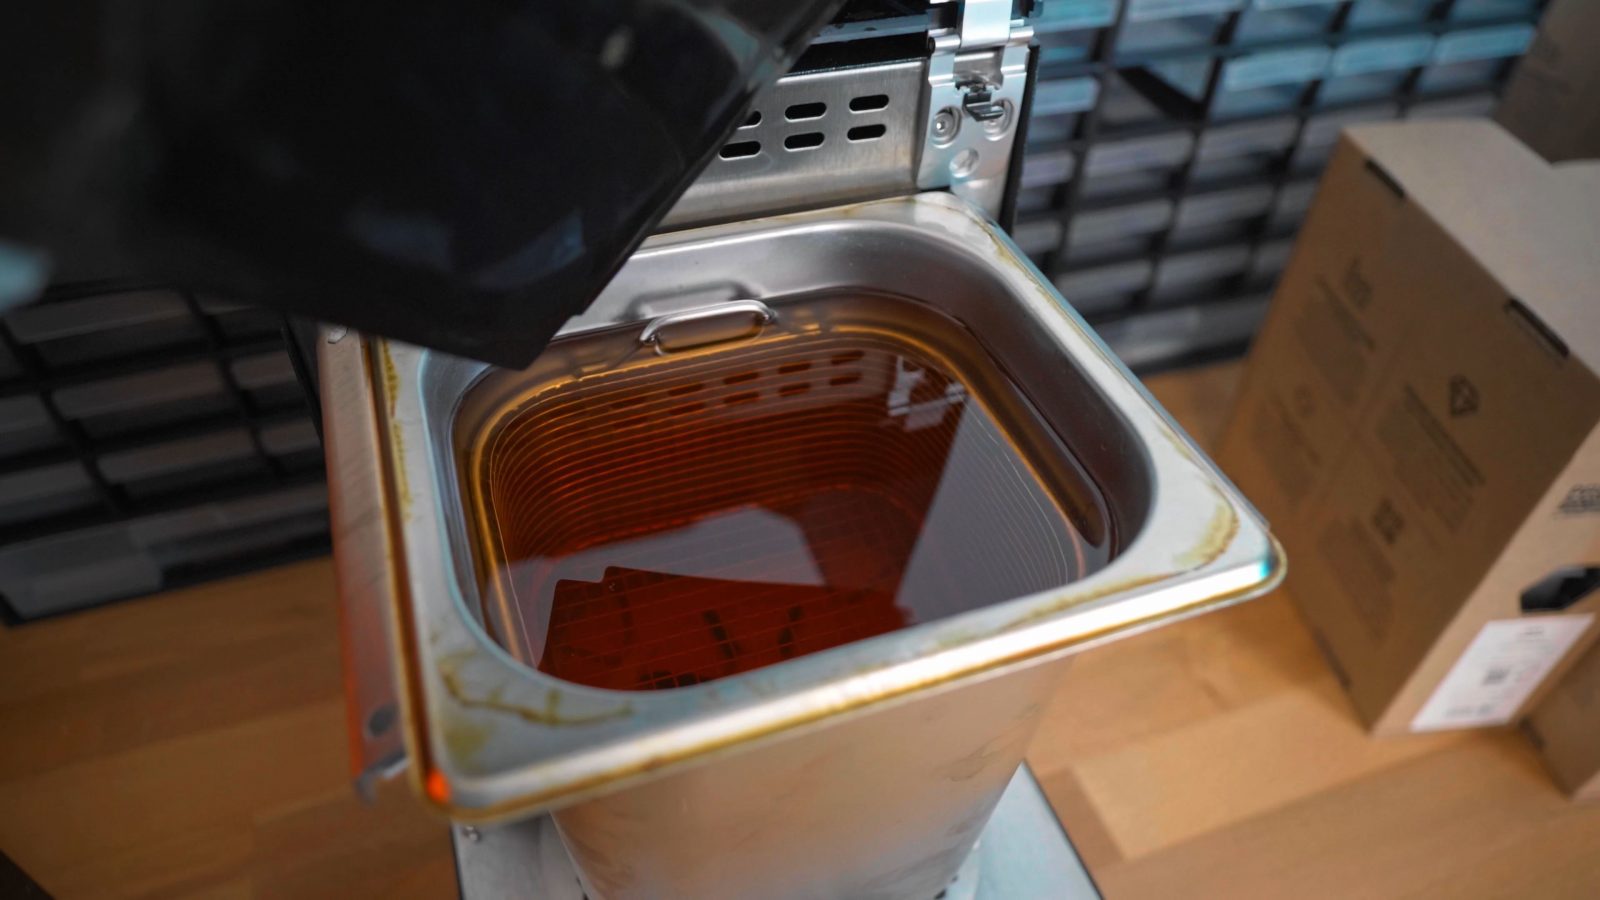

Resin printers are great for making small, but high-detail parts, but to use them, you need to be able to safely handle the resin itself and the solvents involved and then dispose of them properly when you’re done. The process of getting a usable part also takes more effort because you can’t just use resin parts straight off the printer, you’ll need to wash and then cure the parts before they’re actually done. If you need the best possible surface finish and detail reproduction, that extra effort may be worth it, but in general, filament printers are easier to use and still give you pretty good detail on the parts you print – and you can choose if you want your parts to finish more quickly or have finer details, too.
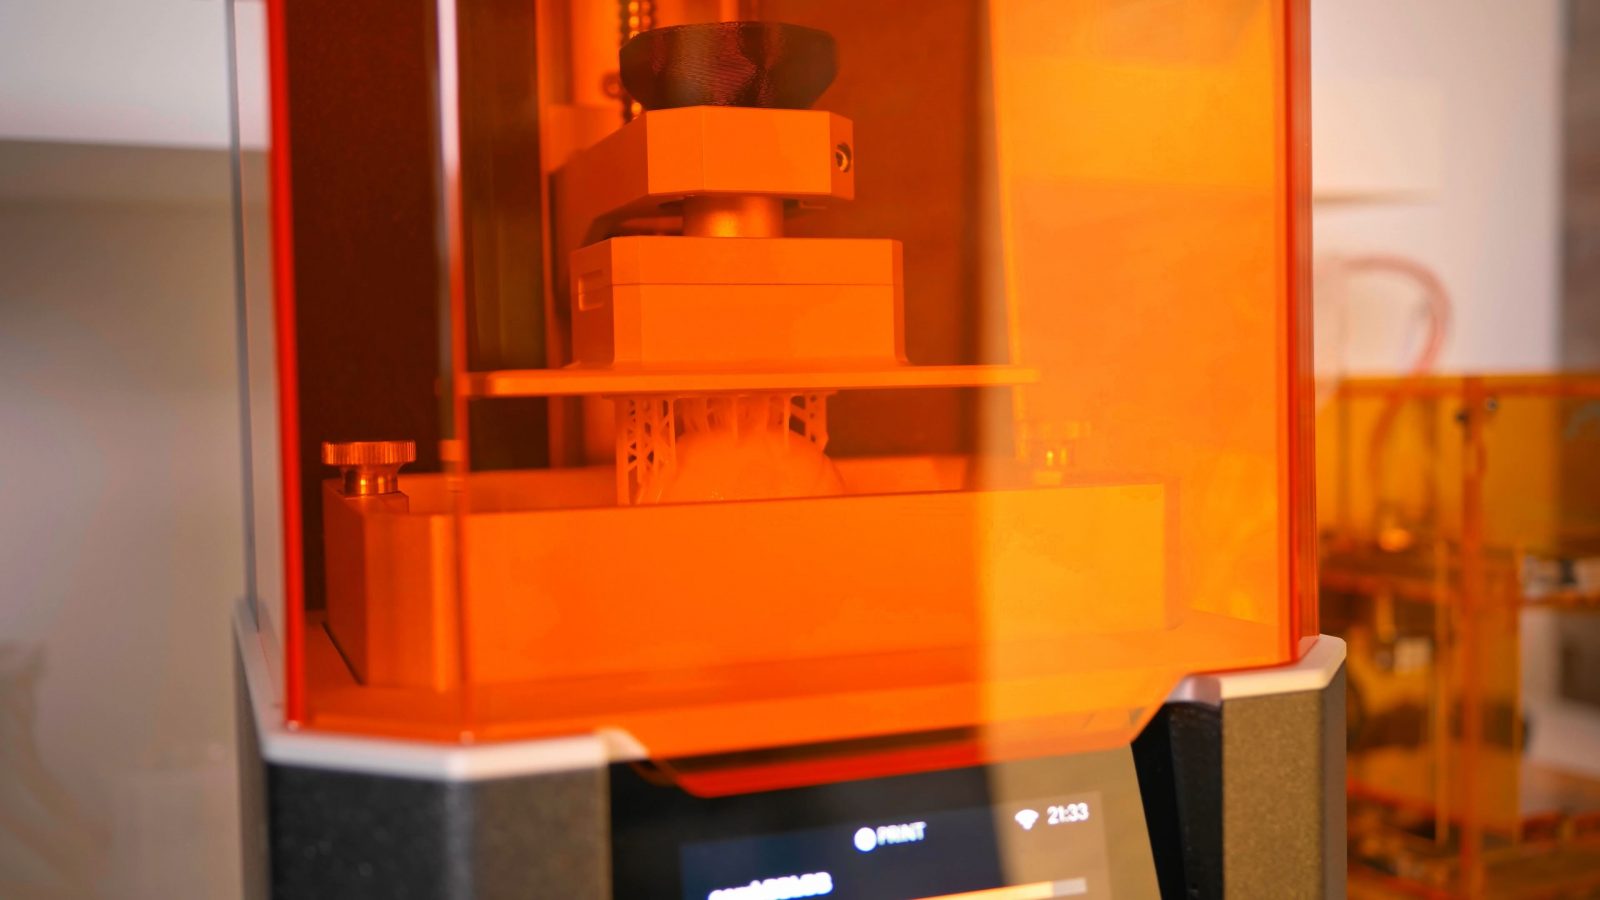
Filament printers are also cheaper to run, and, what I think is actually much more important for getting started with them, you can watch them work, and when something starts going wrong, you can see how it’s happening. In a resin printer, you don’t even get a peek at your printed part until at least an hour into the print. But like I said, if you think want a resin printer, we’re going to look at that in the next video, for now, let’s stick with filament printers. Or FDM, or FFF, or whatever non-trademarked abbreviation you want to use.
Filament Printers
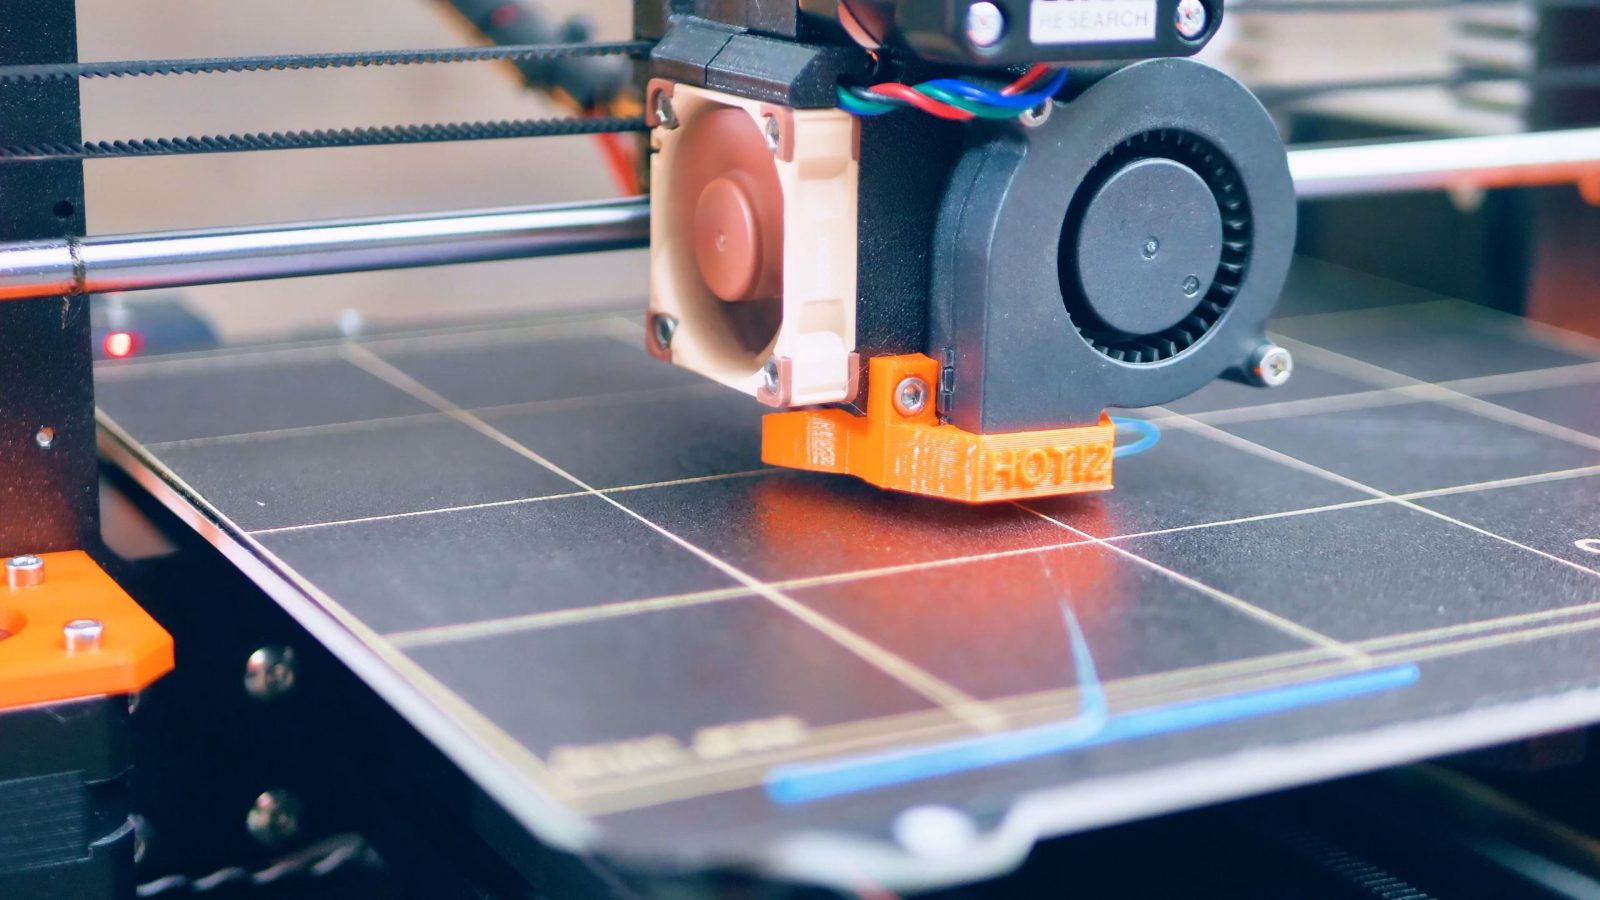
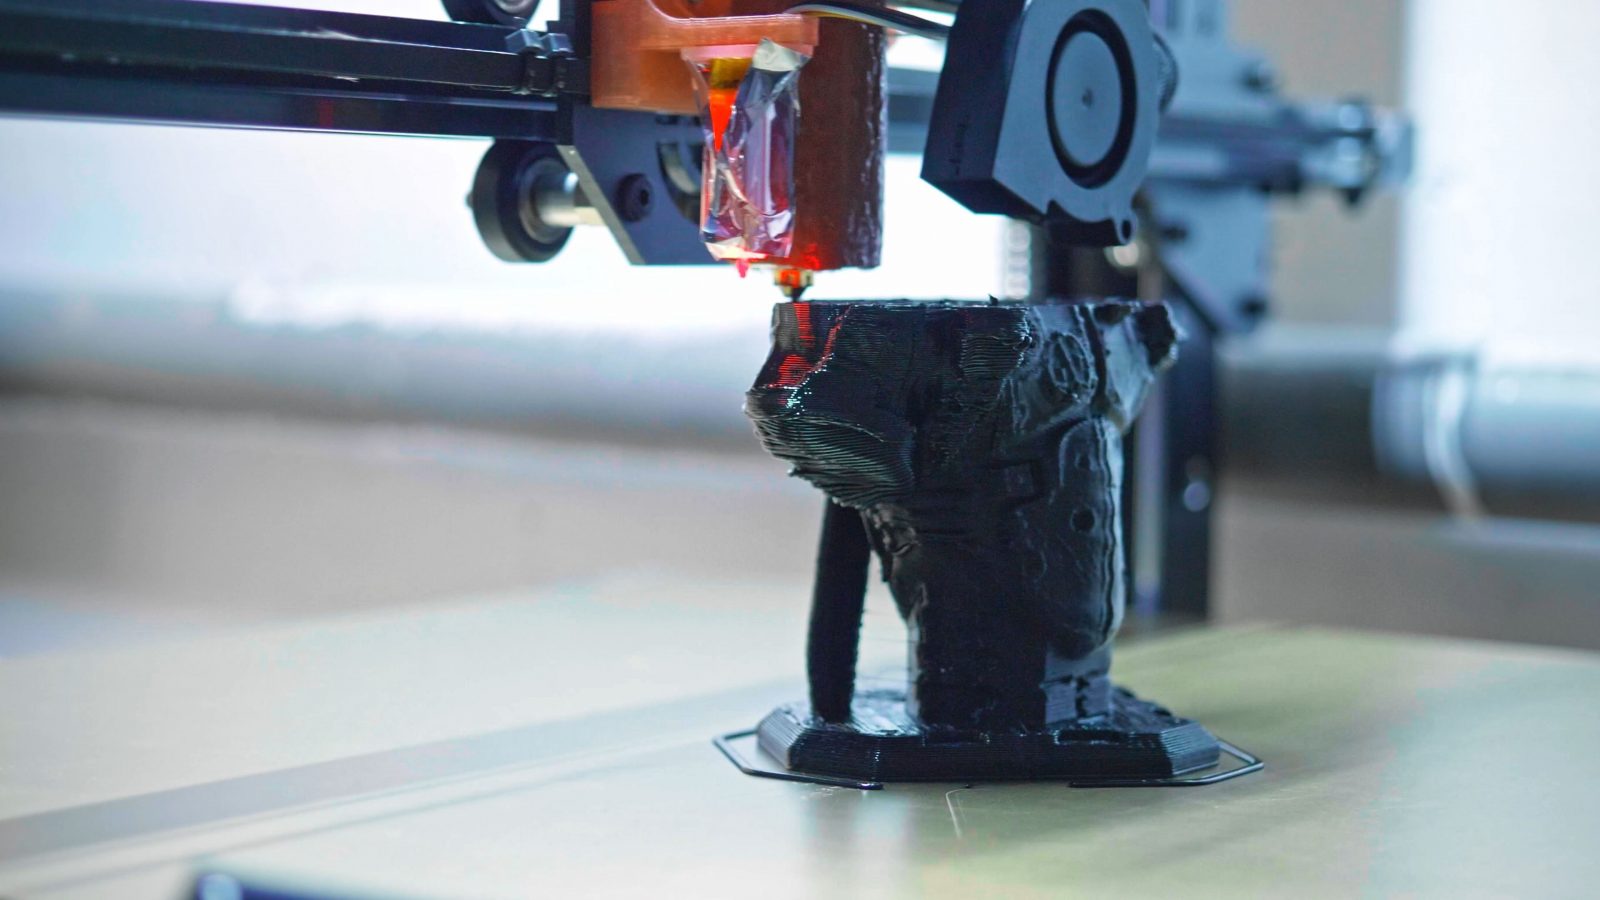
A filament printer’s basic job is to heat up and melt the plastic filament and then squeeze it out of its nozzle in the right spots to make the exact model you told it to create. That really is the same, no matter which filament printer you have. They all make parts, but which parts and how well they make them, that depends on how the printer is built and set up.
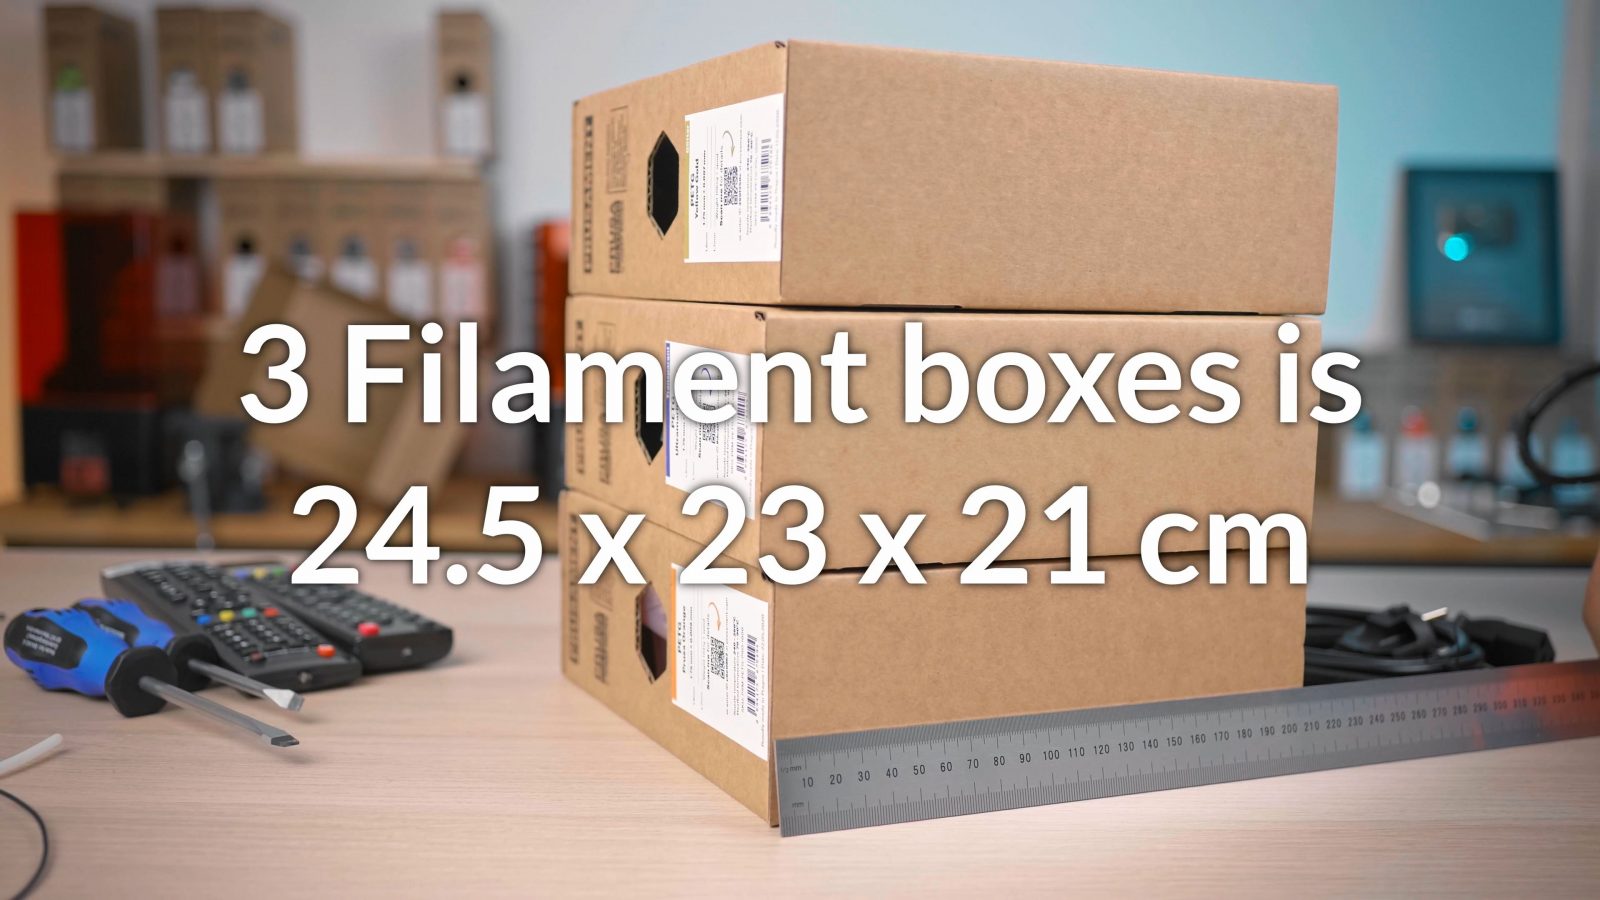
The first thing you’ll usually see on the specs is how large the build volume is, so what size part the machine can print. Most printers are around the size of being able to print a 20 cm or 8-inch cube, that size is a sweet spot for a lot of reasons: At that size, the printer itself isn’t too big to handle yet, and the components it uses are still light and short enough to keep the motion of the printer quick and snappy and accurate.
When you have for example a larger moving bed because that will also be heavier, the printer will either need a more powerful motor, driver, and belt combination to maintain the same snappiness as a smaller one, or, to not compromise on accuracy, it will need to limit how fast it positions itself if it’s using the same common NEMA17 motor size and 6mm belts.
That size is also where a “normal” toolhead will finish prints within reasonable timeframes. Printers like these will still take close to week to finish a print that fills up its entire build volume, but if you now double that 20 cm cube to a 40 cm cube and fill that up, you’re now talking about print time closer to a month.
There are specialty tool heads for those larger printers that can feed more filament and heat it up more quickly, so that’s going to make prints complete faster, but usually, you do lose out in detail reproduction because those tool heads are also laying down a thicker bead of filament.
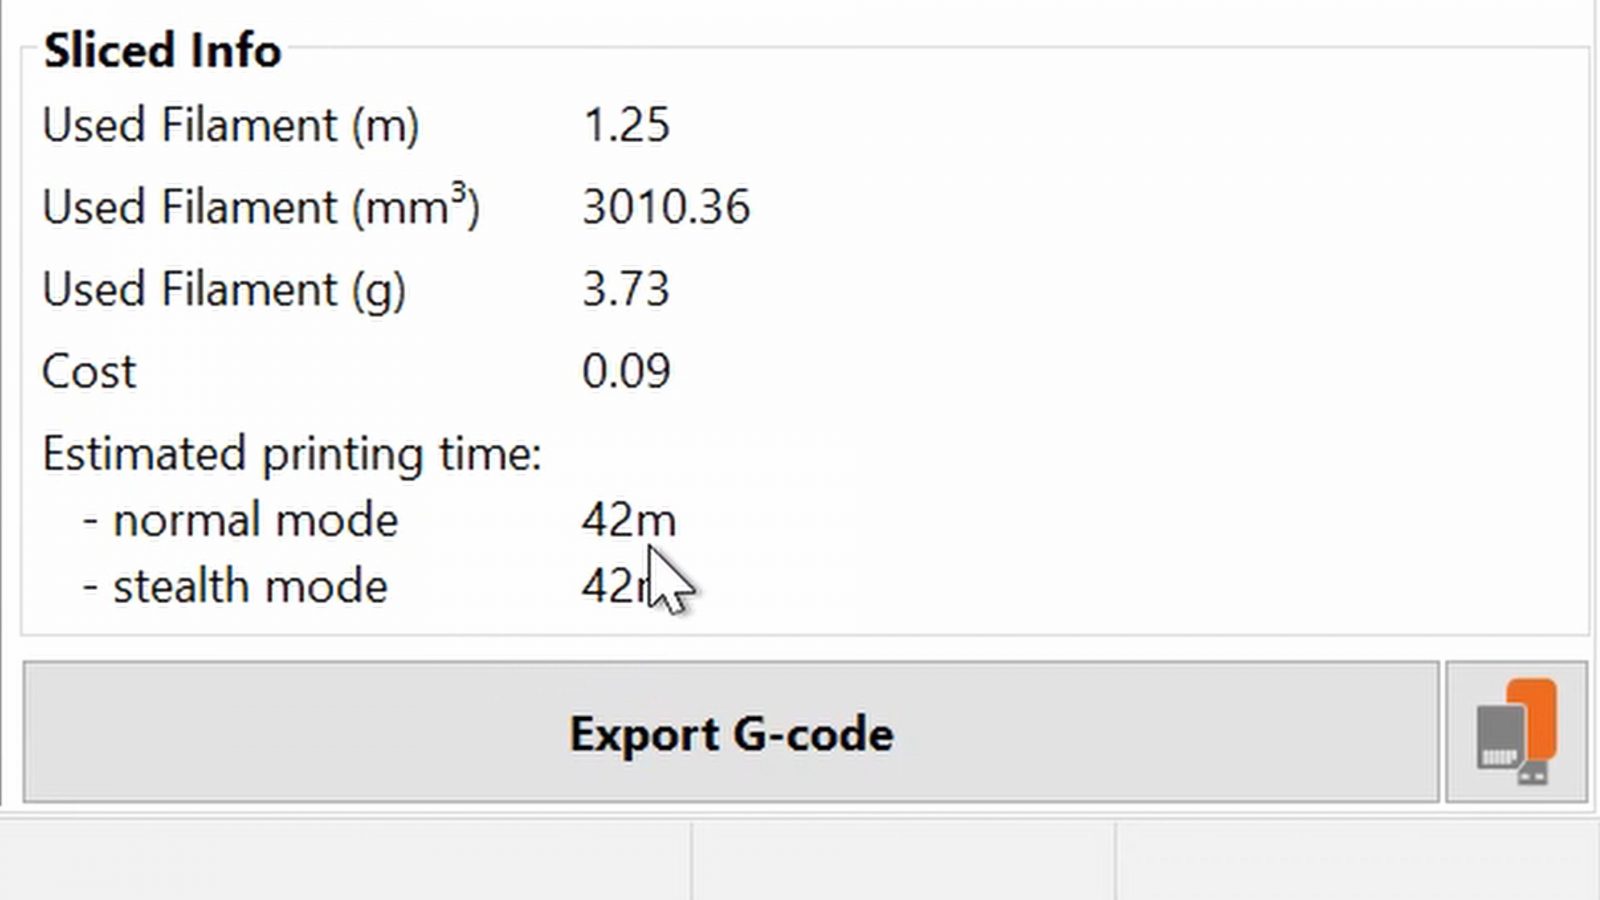
But typically, you’re not going to fill up your printer’s build space entirely, and most prints will take two or three hours, with larger prints that use, for example, the entirety of the printer’s height, those will usually take a few days at most. If you want to find out how long a specific printer you’re looking at will take for the parts you want to print, you can set up the slicer, the software for your printer, load in your model, and just see what sort of print time estimate you get.

Software – The Slicer
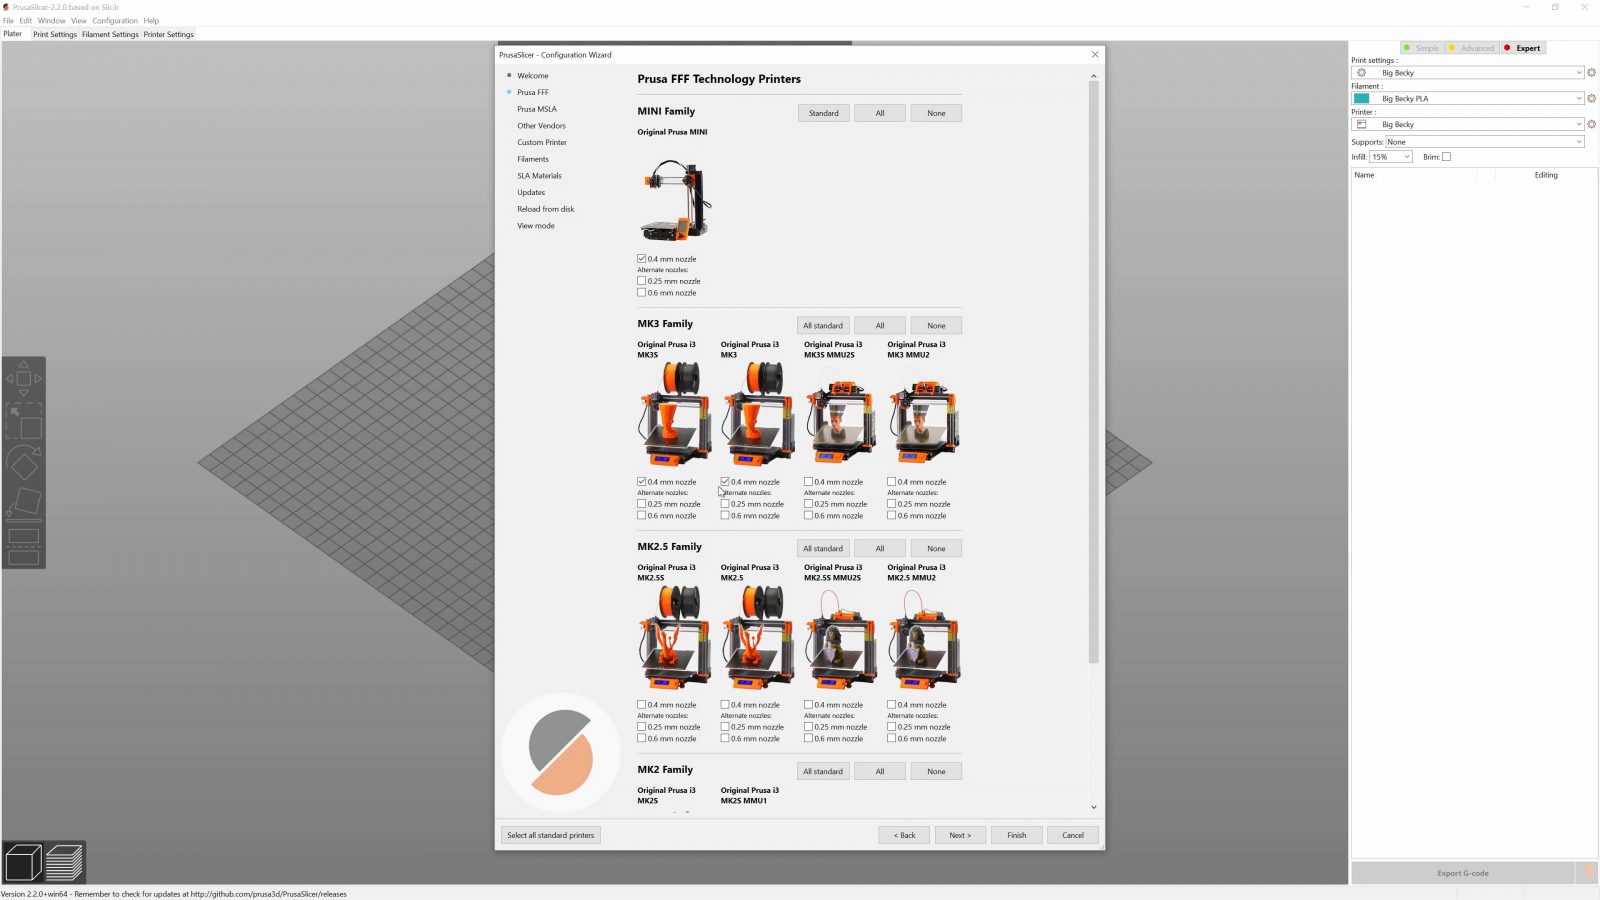
That takes me to the next, and I think most glossed-over difference between machines, which, especially for getting started, I think is equally or maybe even more important than how exactly the printer is built – and that’s what the manufacturer provides for you for software, specifically for the slicer. Again, you can normally give this a try before you even buy a printer. The best case scenario is that you get a slicer, that, after you install it, just asks you “hey, is this the printer you have” and then sets itself up to perfectly prepare your files for that very machine.

That means that the manufacturer has set up and tuned the settings to a level of quality that they are happy with for that machine and it means that you don’t have to go through any debugging and tuning – and printer tuning is anything but self-explanatory, especially when you’re still wrapping your head around how all these settings and components work together…
What you might also find from the manufacturer are recommendations for which slicer to use that has profiles already built-in for their machine or something like a downloadable profile and instructions on how to use those. That’s also great because you get a solid starting point. What would be red flag for me is when there is just nothing provided at all by the manufacturer. Facebook groups and forums often do share profiles that work for that specific printer, but you never know if those profiles come with quirks that create weirdness in how some parts come out, and also it’s also not very reassuring, I think, when the manufacturer can’t even be bothered to tell you how to use their machine. If you don’t find anything on the manufacturer’s website, it certainly doesn’t hurt to ask their customer service what slicer setup you should be using. If they have a customer service.
Hardware
Alright, so that’s the “soft skill” portion, let’s move on to the “hard” skills – actual hardware, features and how the printer is built. These things will determine how capable the printer is, what materials it can print, how convenient it is to use and how long it’s going to last.
What makes recommending one thing over another so hard with a lot of these details is that, when there are two common approaches, either one is usually going to work if it’s done well. Just like the first obvious thing, other than size, and that’s kinematics. For the sake of keeping this video short-ish, I’ll generalize all printers that have their movement axes perpendicular as “cartesian” machines, where the other category is “delta” printers. There are some more obscure designs, too, but I’ll just ignore those for now.
Cartesian Machine 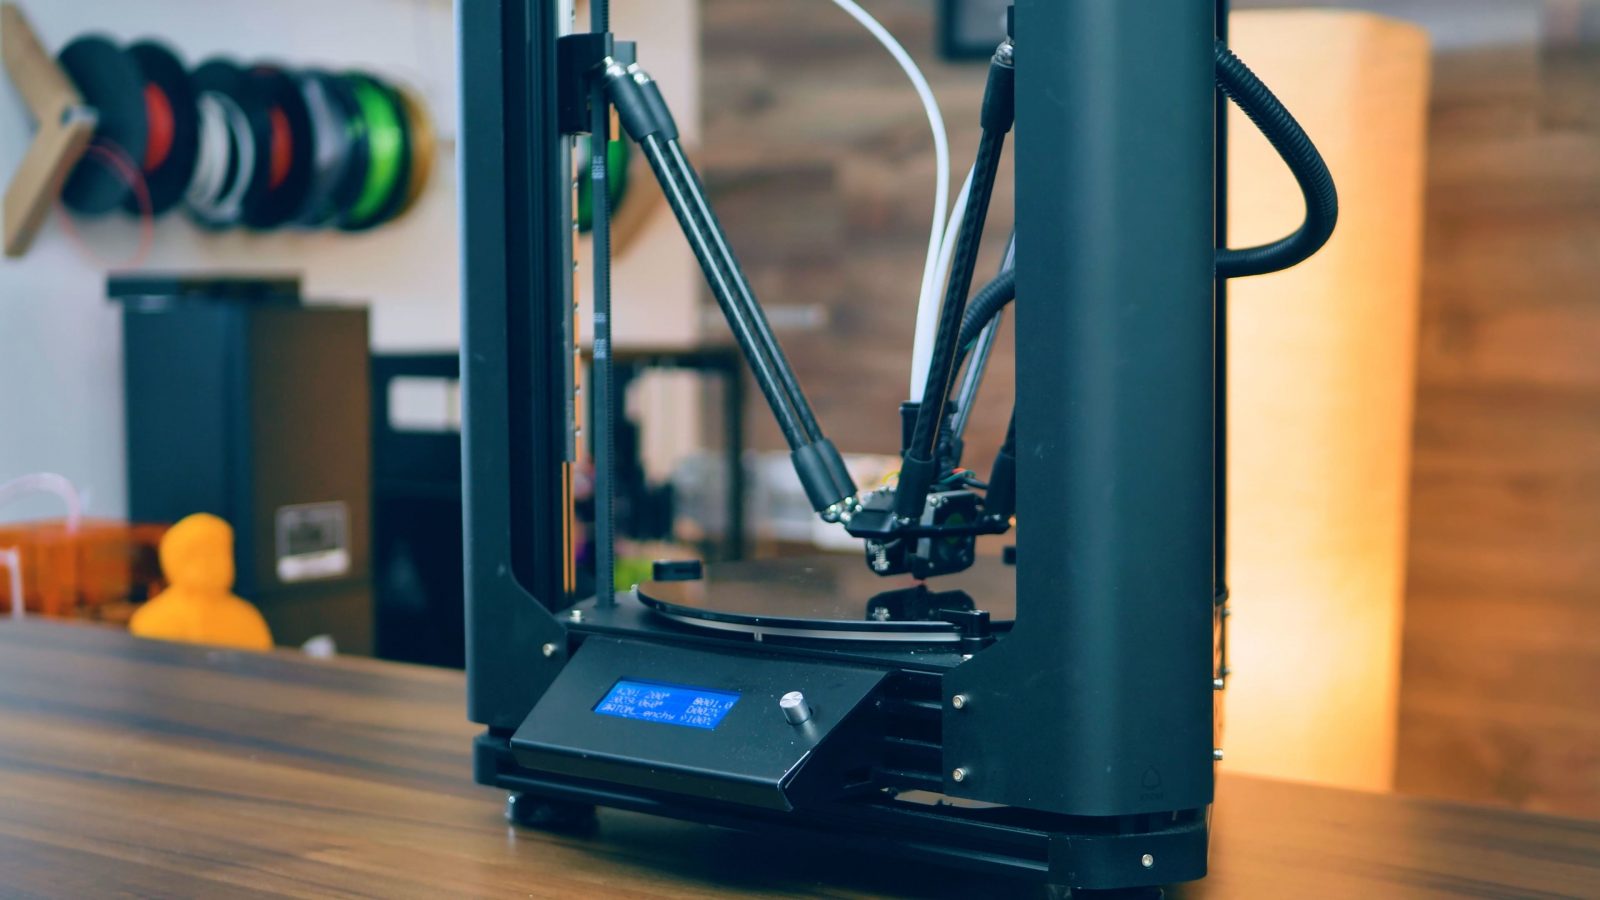
Delta Printer
I would recommend starting with a cartesian machine of some sort, deltas can be built incredibly well, too, and they’re fascinating to watch and listen to, but any flaw in a Delta get amplified in ways that can make them really hard to track down and fix. I’ve had a delta machine produce distorted parts for years and only noticed it when I was wondering why the printed parts weren’t fitting together the way they were designed. Again, there are exceptions and really well-built deltas, but in general, I find cartesian machines easier and more predictable to work with.
Hotend
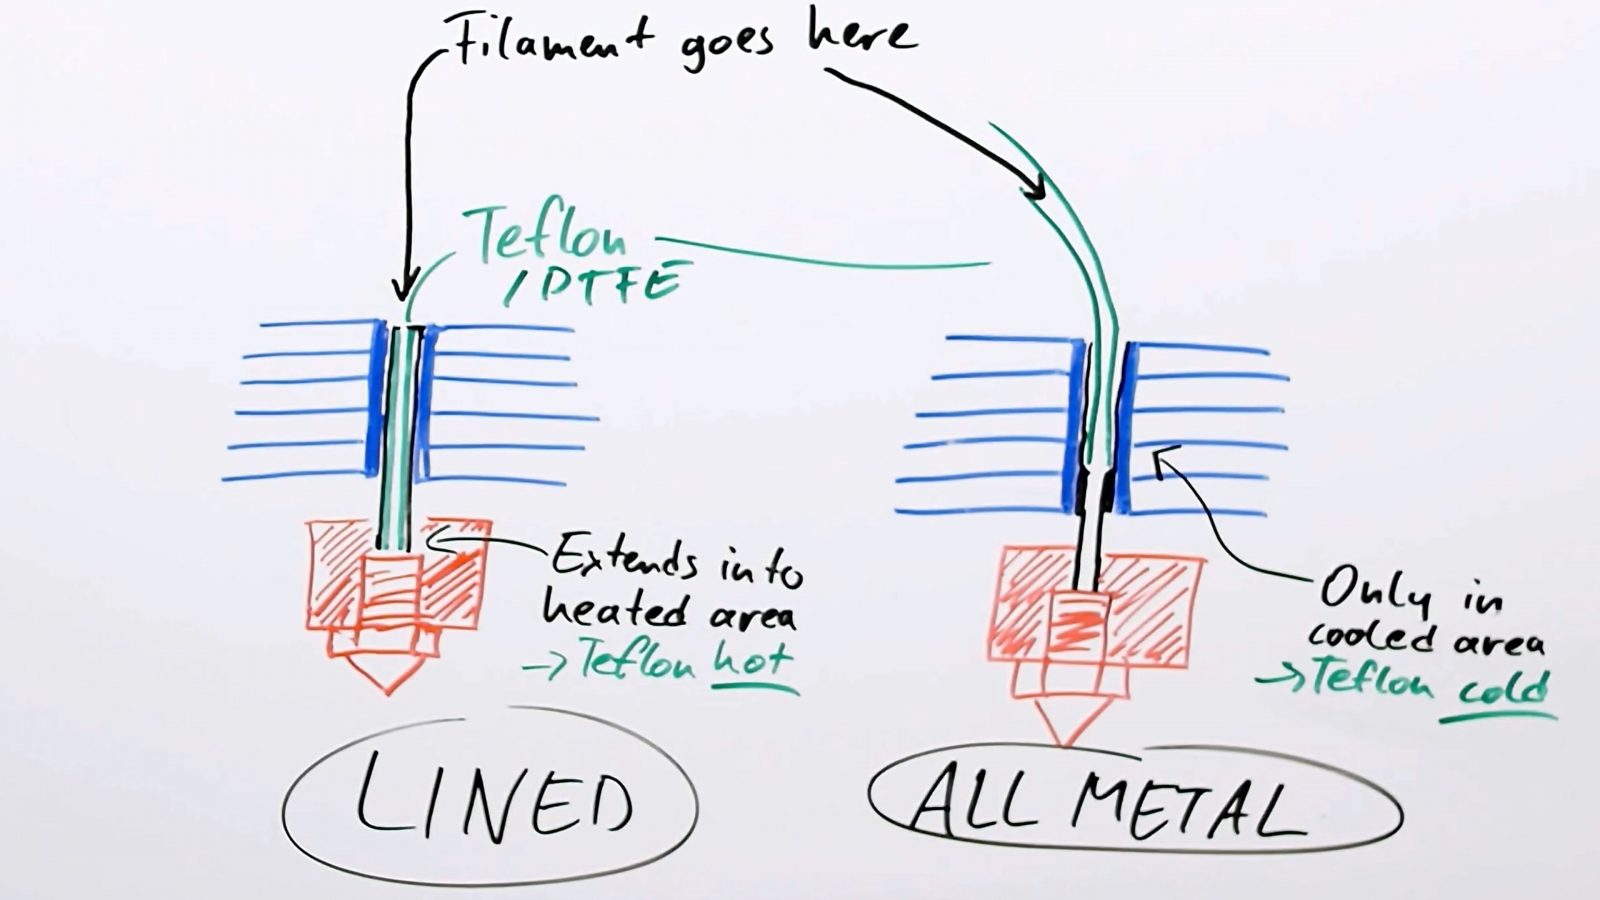
Next, the one thing you’ll often see discussions about is what sort of hotend you should be using, the thing on your printer that actually melts filament, and there’s two large groups being all-metal and Teflon- or PTFE-lined.
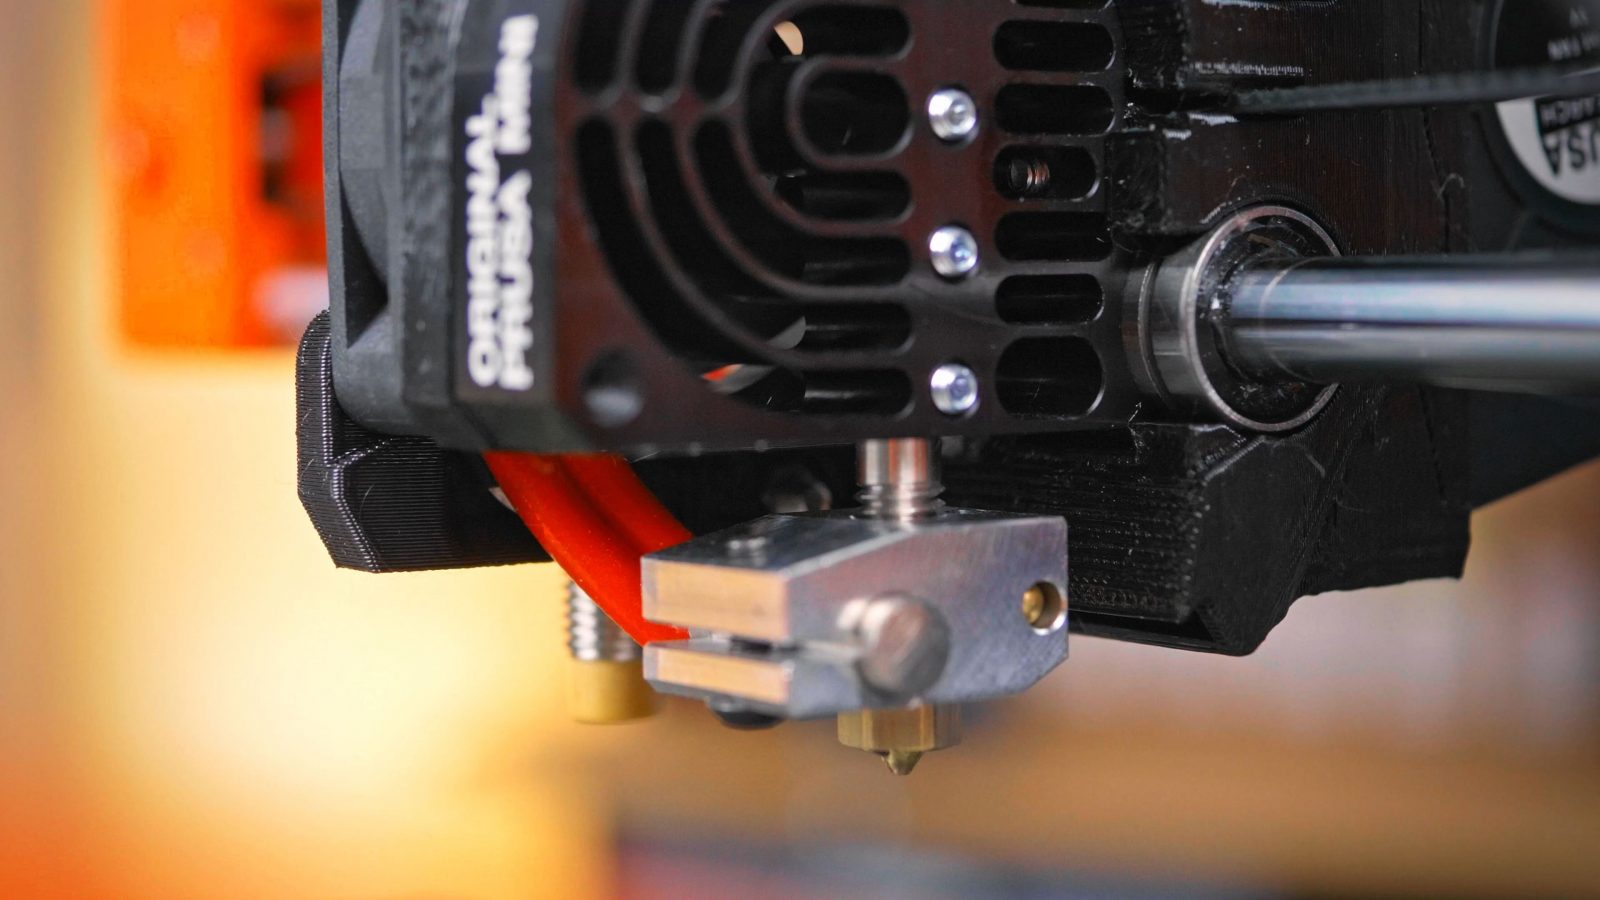
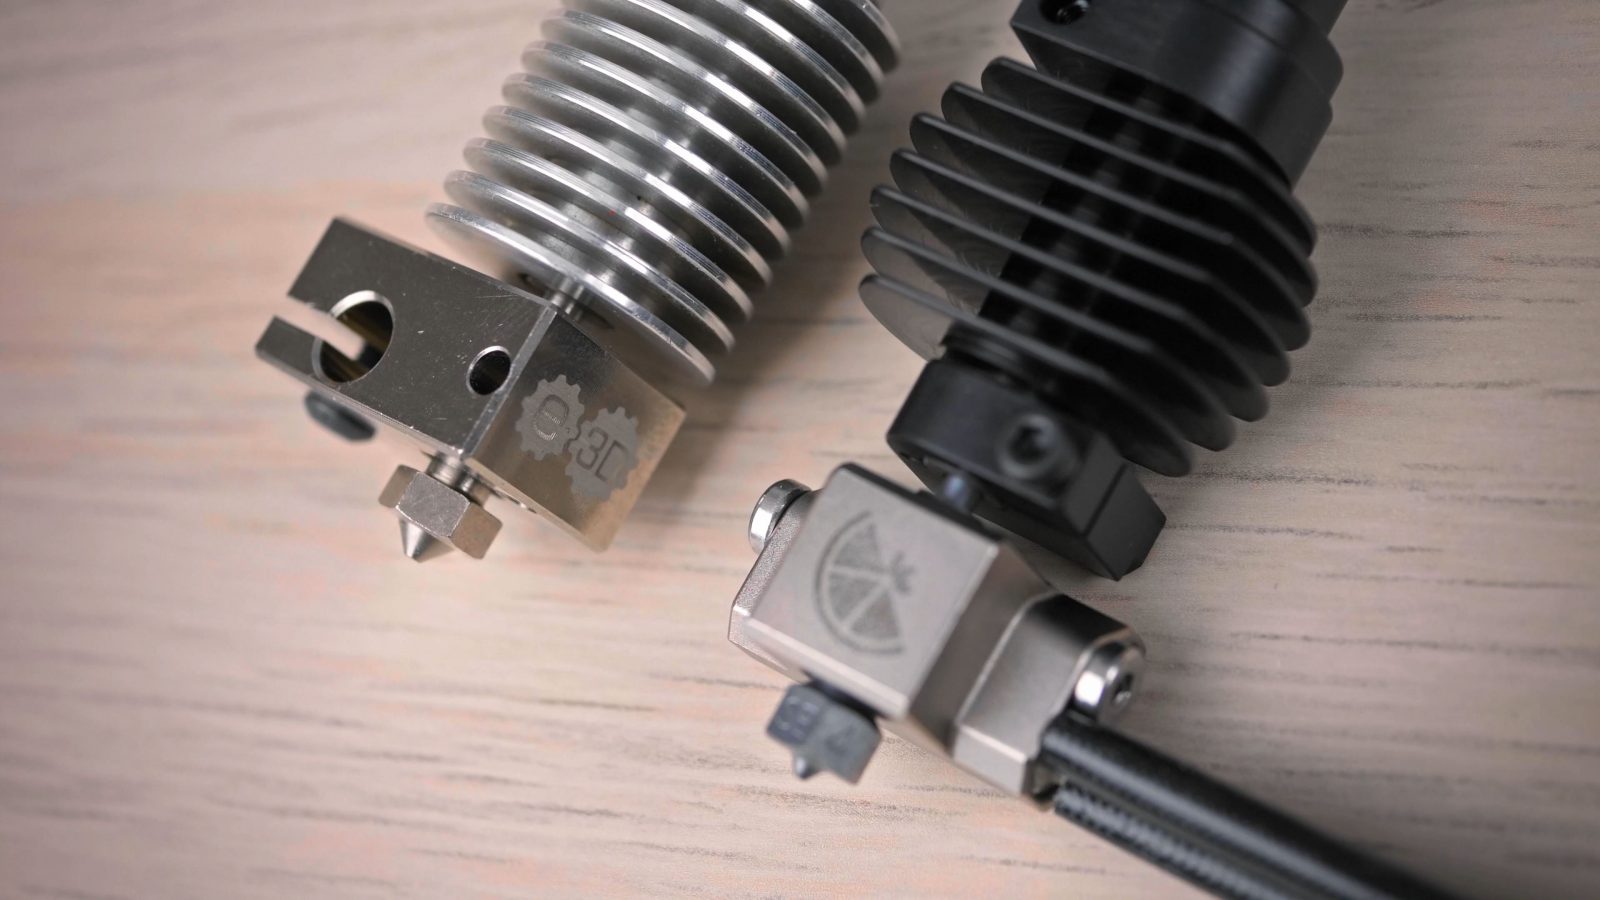
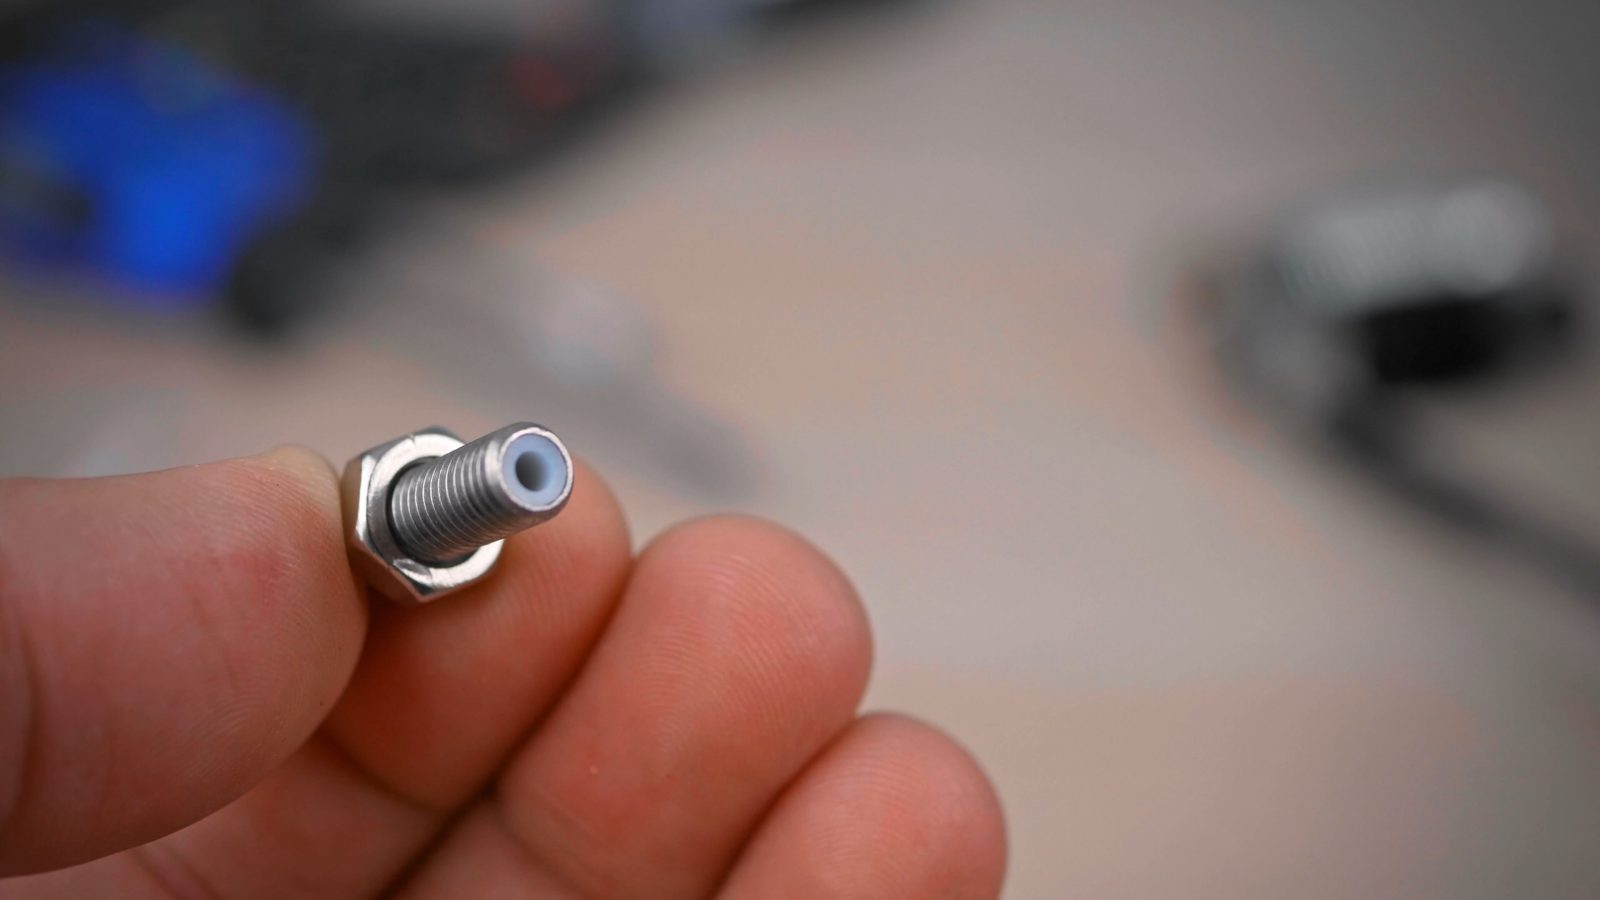
Teflon and PTFE are the same material, it’s just that Teflon is a brand name. The difference between those and all-metal hotends is that the lined hotends will use a bit of PTFE tube to keep the filament from sticking to the inside of the hotend where it transitions from the low-temperature, cooled side, to the hot side, where the filament melts. Lined hotends use PTFE because it’s naturally slippery, all-metal hotends have a special surface finish on the inside of that transition where it touches the half-molten filament and they keep that transition zone as short as possible.
Both lined and all-metal hotends can cause some headaches if they aren’t well-made. From my experience, if you have a decent all-metal hotend, it’s going to keep working with basically no maintenance until you find a way to break it, like bending it; but with a lined hotend, because the PTFE is still plastic, it does get soft and deforms over time, so it’s most likely going to require periodic replacement of that liner. On the other hand, a badly-made lined hotend has a better chance of working at all compared to a bad all-metal one. So which one to get kind of depends on what budget range of printer you’re looking at, too.
One thing the all-metal hotend will allow you to do, though, is to work with higher-temperature materials, but to print those successfully, you will also need a few other things like a printer enclosure and a higher-temperature heated bed. If you’re planning on printing with ABS, ASA, polycarbonate or some of the Nylons, to have a good time, you should be looking to buy or build an enclosure, preferably get a printer with an all-metal hotend and a capable heated bed, but if you’re ok with the two common materials PLA and PETG, then pretty much every well-made setup is going to work for you. Some manufactures also specifically validate some materials on their machines, so for example, even though the Prusa Mini uses a lined hotend, they’re providing settings that let you print their Prusament ASA on this machine. More info on what those materials are and what you’d use them for in a later video.
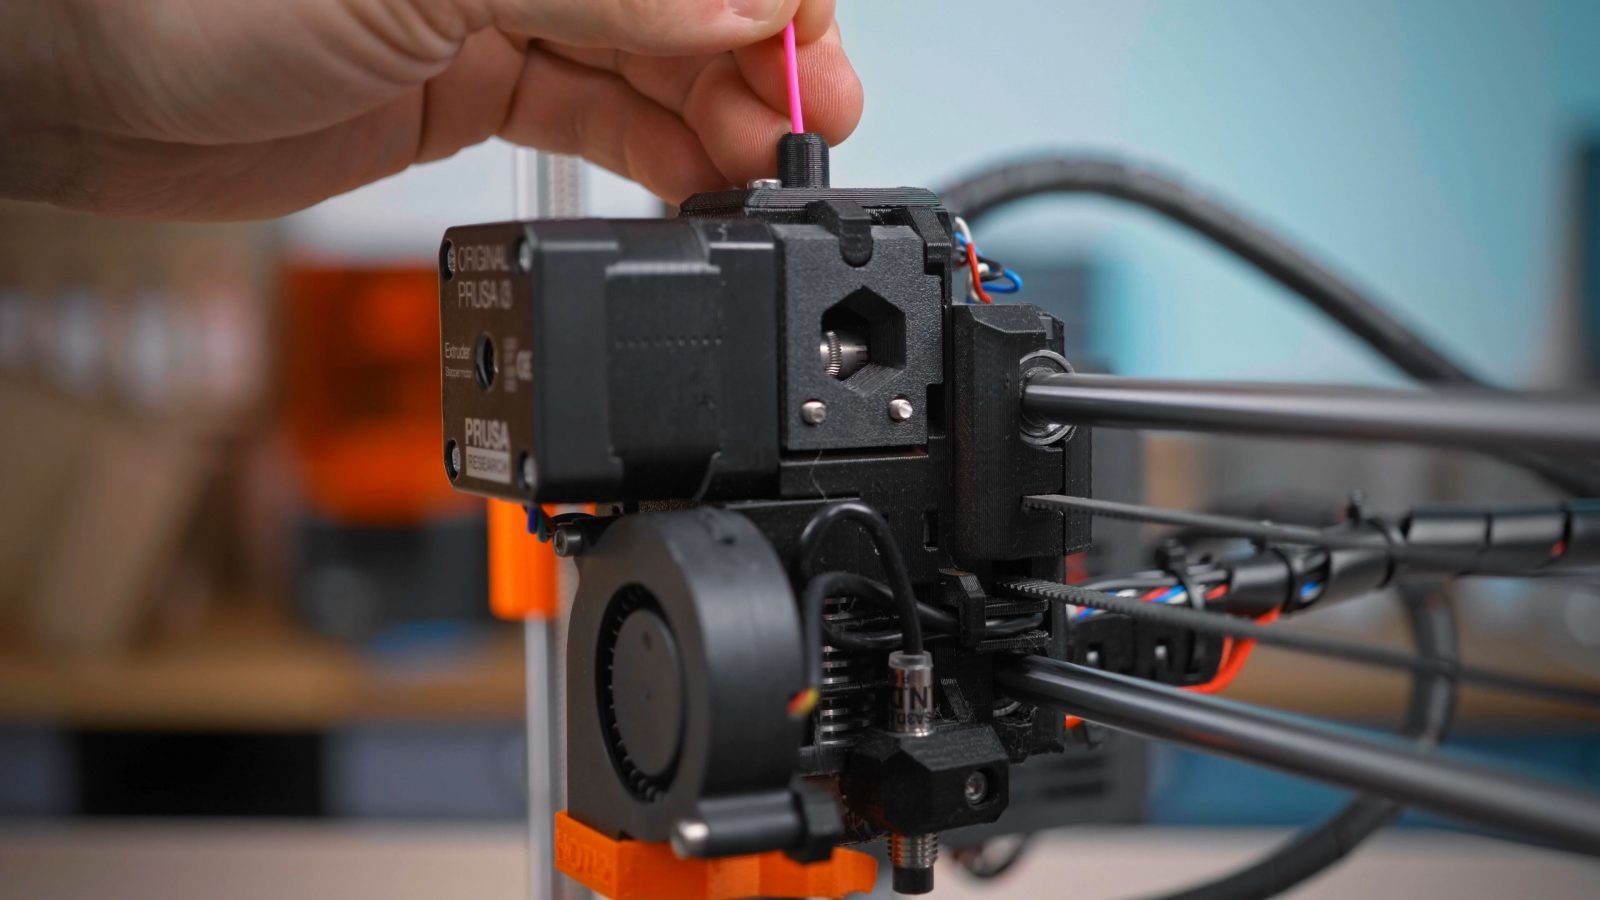
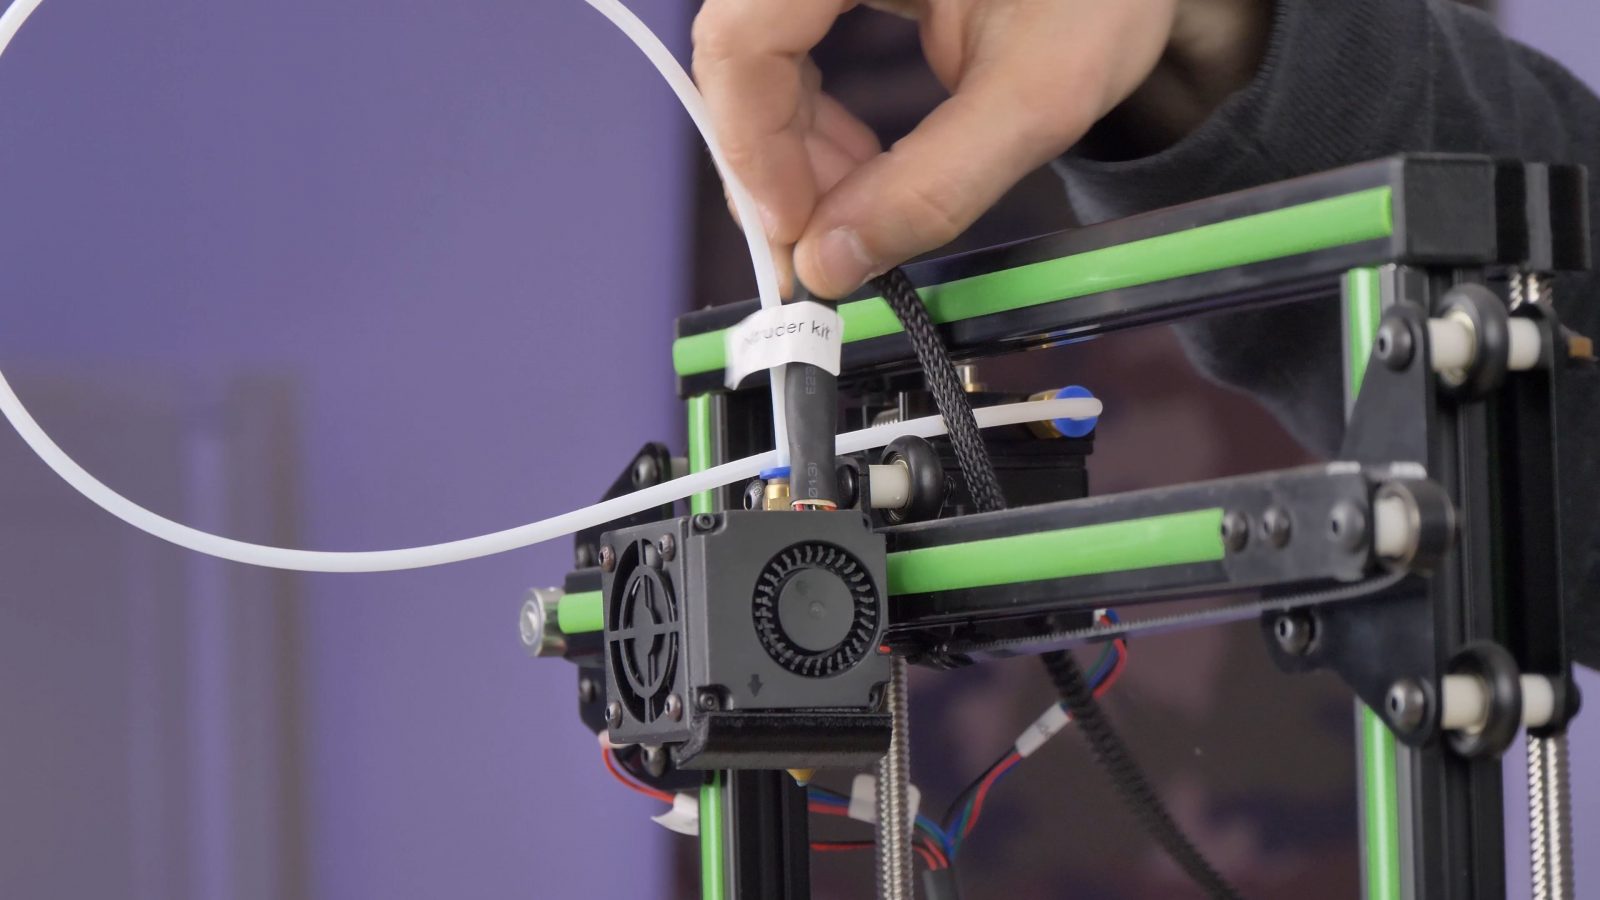
Extruder
Usually, the next logical thing to talk about now would be the extruder, the thingy that pushes filament into the hotend, but because even simpler designs are usually good enough to at least get you printing and with a good printing profile, the difference between the two main ways of building them, where you either have the extruder sitting directly on to of the hotend in a “direct” setup or coupled to it with a long PTFE tube in a “Bowden” setup, the difference between those in practice is so small that you really shouldn’t worry about which one your printer has unless you’re planning to print a lot with flexible filaments – in that case, a direct or non-Bowden extruder is a much better choice, but for everything else, it kinda doesn’t matter all that much.

Heated Bed
So I’ll move on to the heated bed that we were just talking about, it’s a standard feature on almost any printer now.
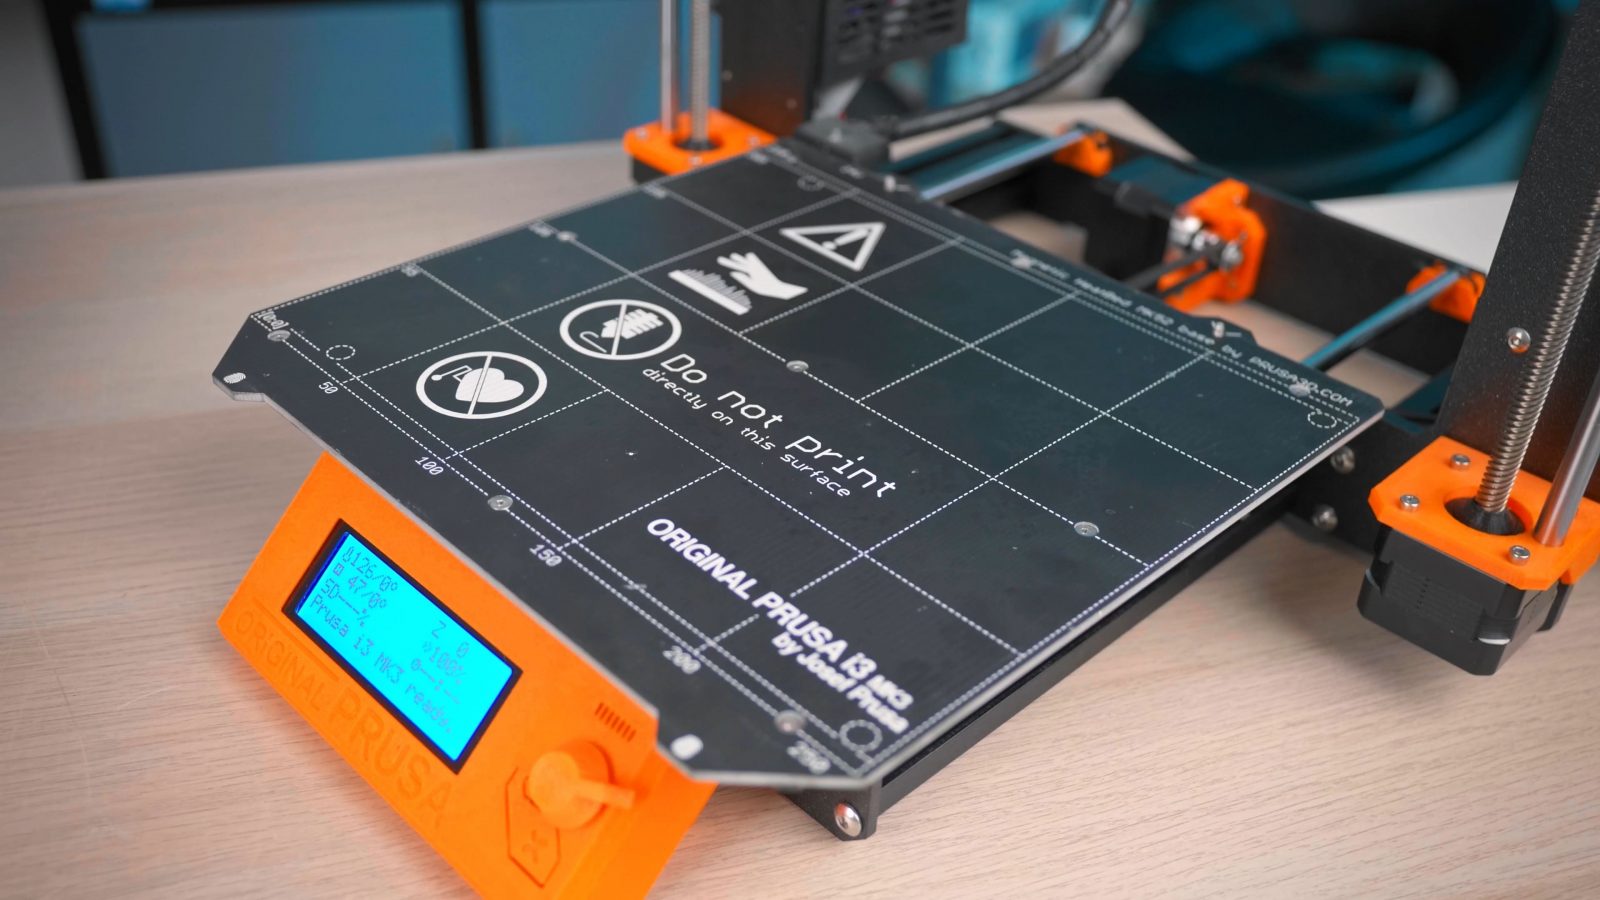
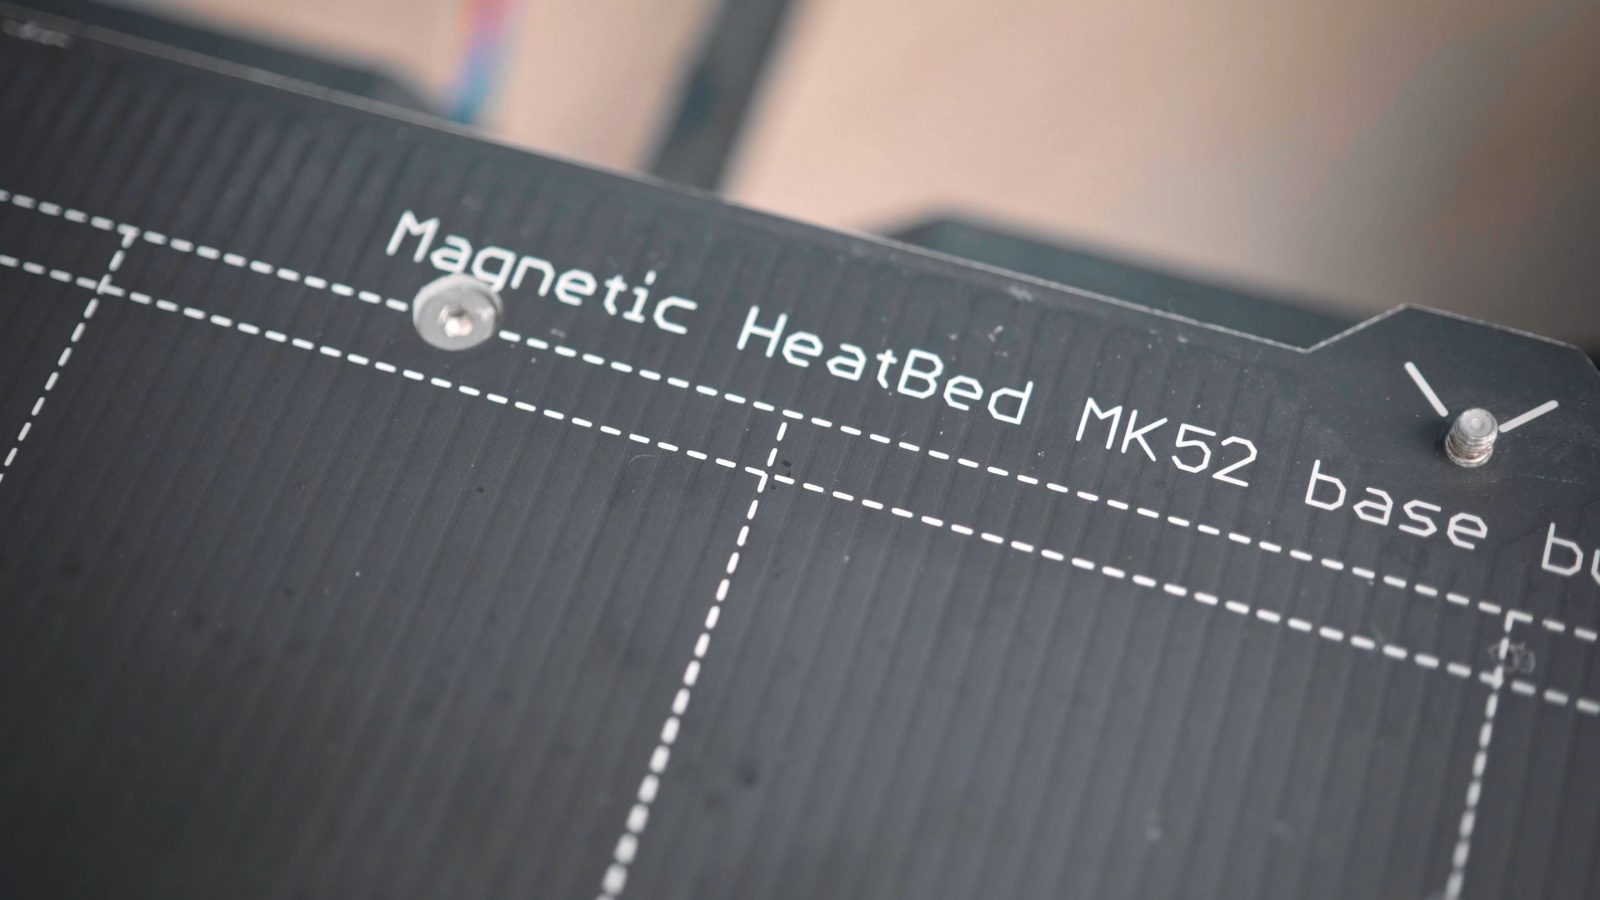
It heats up before a print and then cools down when it’s done, and that heat does not just help with keeping parts stuck during a print, but it also helps with releasing them afterward, because as everything cools down, the part and the bed will shrink at different rates and in the best case that just pops the part right off. The one feature to look for here is a flex bed. Printers without one are still usable, but it’s incredibly convenient when you can just pull off the bed surface, slightly spring it up and the parts will just pop off. On printers that don’t have a flex bed, you’re often going to need to pry off larger prints with a sharpened spatula or a chisel or something, and you need to be careful not to damage the bed surface. Looking for a machine that comes with a flex bed is something that I would definitely recommend, they are also available as an upgrade that you can fairly easily put on almost any machine, but if you choose an aftermarket option like that, it does add to your price tag.
Now, if I had to choose between a flex bed or auto bed leveling, I’d go for the flex bed for sure.
But sensor-based auto bed leveling or tramming or however, you want to call it has become another useful feature that allows you to only worry about setting the nozzle height of the printer once instead of having to periodically adjust the height for each corner of the bed by hand. A level or square and trammed bed is essential for good adhesion of your part while it’s printing, especially of larger prints, and as a printer bed itself becomes larger, it becomes almost impossible to get every single spot on the bed to the same height, especially in between your leveling points. Auto bed leveling can adjust for that and for any warp or bow in a bed, so I think for machines with a 30cm bed and up, auto bed leveling almost becomes a necessity, for smaller machines, it’s still a great convenience feature, but manually adjusting the bed now and then is totally doable, too. I’m covering how to do that later in the series.
Performance
Before we move on with what else you should be looking for, let me cover a few things that some manufacturers love to use in their marketing, but actually say nothing about how a filament printer is going to perform at all – or at the very least you shouldn’t be comparing machines based on who is claiming the best numbers here.
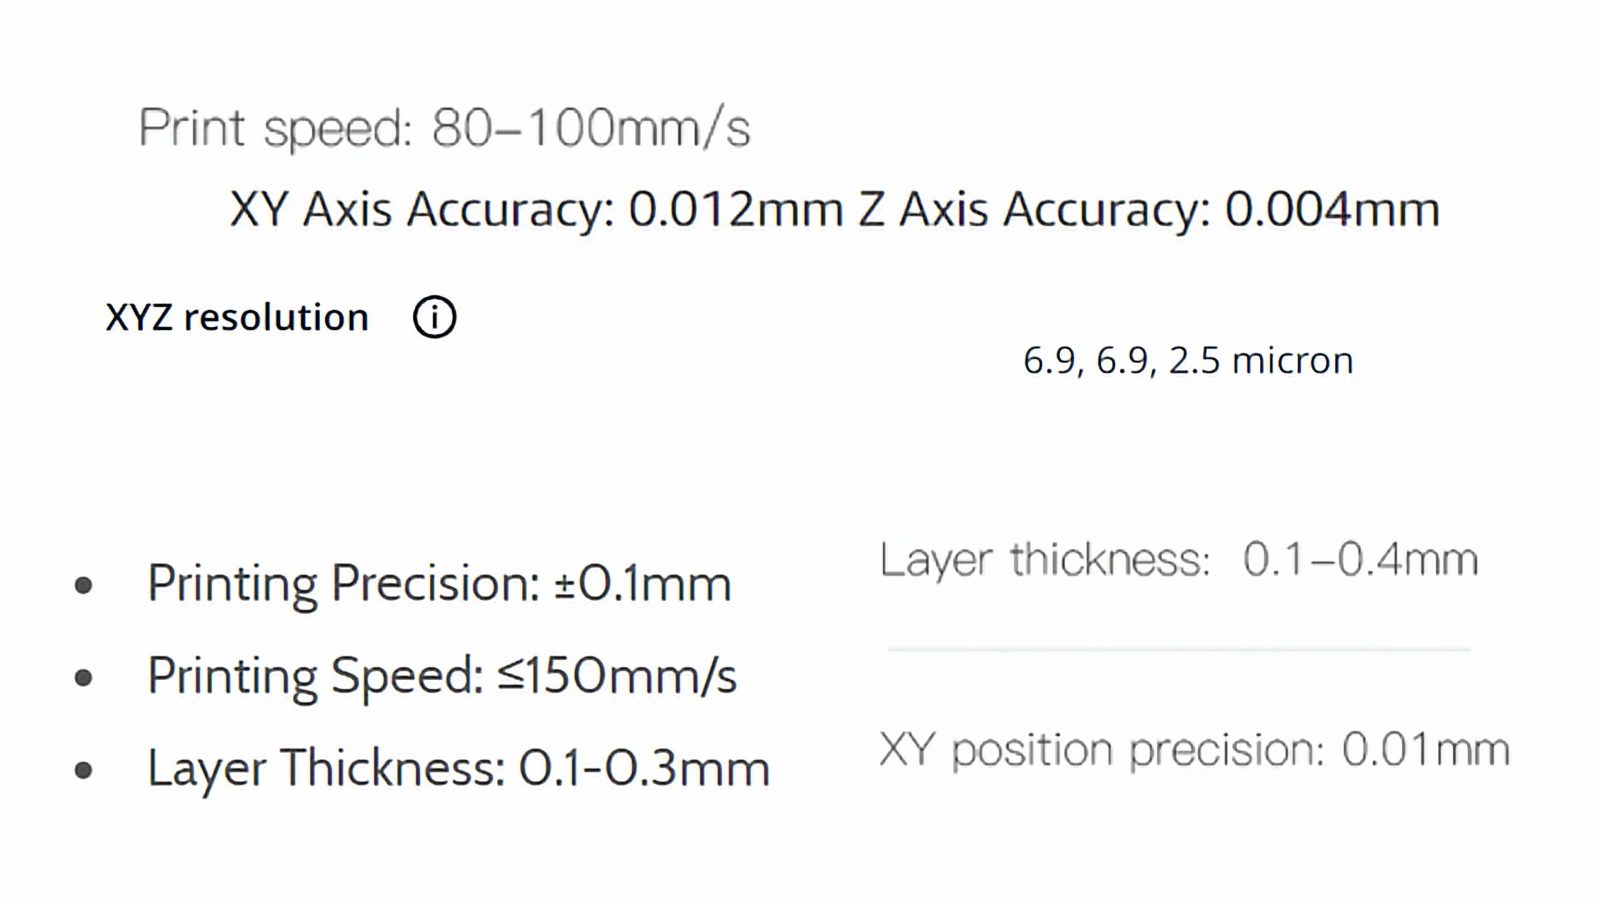
So those things would be something like “maximum print speed”, “resolution”, “finest layer height” and anything else like that is really just a theoretical number. For speed, yes, the printer may somehow be able to move that fast, but typically you limit your print speed way below what the absolute limits of the machine are because if you actually tried to print that fast, your prints would look absolutely horrible. For resolution, the theoretical numbers are way less important than how smoothly and accurately the printer can move. You’re not going to notice a difference in a bit of extra “positioning resolution” when, for example, the belts that have to transfer that motion are made from jello. Having good belts and bearing and all that does make a difference.
Electronics
But something that, as of today, is not really a good indicator of how well a printer is going to perform is the choice of an 8-bit vs. 32-bit controller. The Marlin firmware that normally runs on the 8-bit chips is extremely well-optimized these days and a printer like the MK3 with that truly ancient 8-bit processor in there, at least for printing, still works perfectly. The more modern 32-bit chips are actually cheaper and they allow for more functionality like easily having a nicer screen on a machine or adding network connectivity.

But when these 32-bit chips run a hastily thrown-together, proprietary interface on the screen or unoptimized code to control the printer, they’re actually going to be inferior to a well-oiled 8-bit system, I think. There are good and bad examples for either one, but honestly, though, 32bit vs 8bit is such a marginal difference in what your printer is going to enable you to do that I would just not care. It depends more on how well everything is implemented anyways, and that’s something that’s hard to judge from afar.
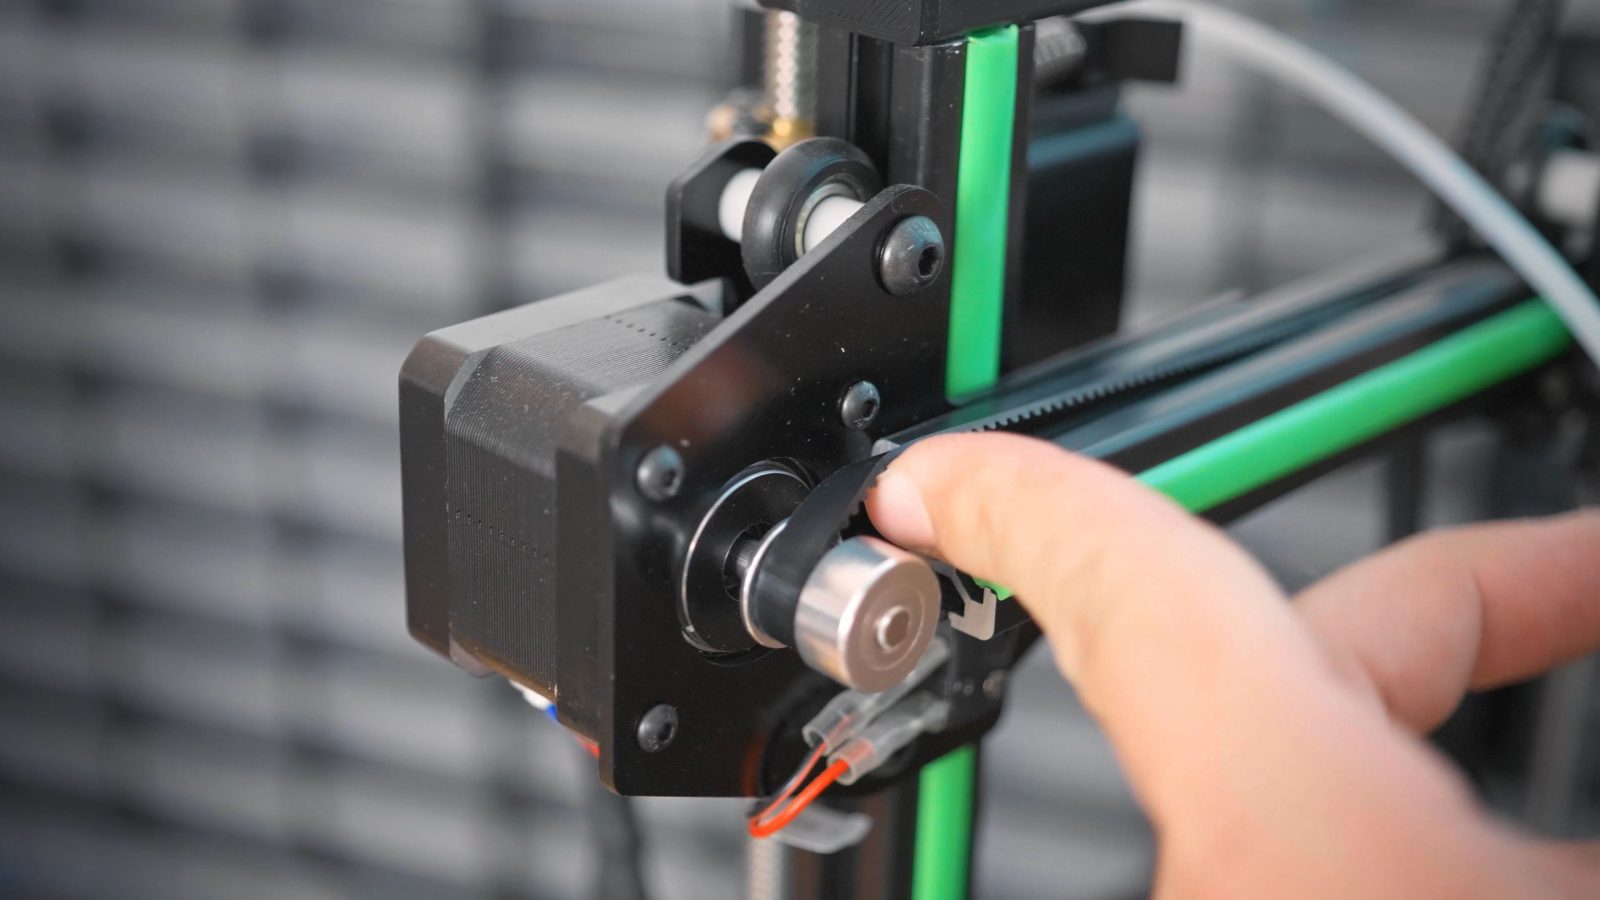
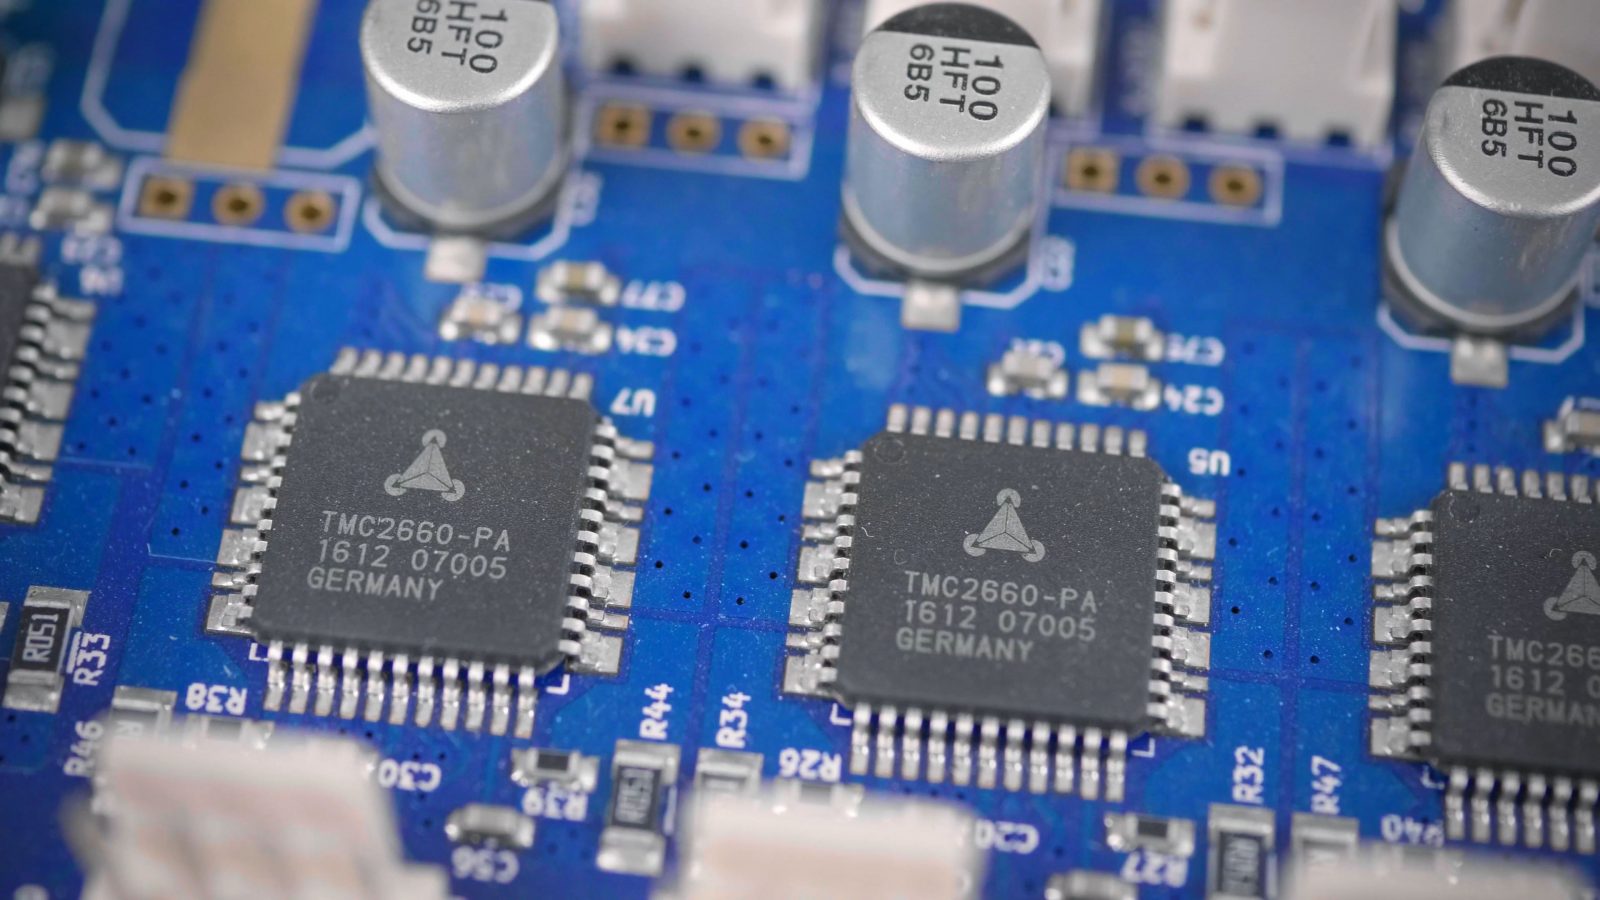
Ok, but what will make a real difference in the electronics is the choice of stepper motor driver, and I know we’re kind of wading into the deep end here, but trust me, it’s going to make quite a difference.

Better stepper drivers will get you a smoother surface on your parts and will make the printer much, much quieter. The difference between a manufacturer paying no attention to them and another one engineering the crap out of a stepper driver system can be going from “holy crap I can hear this printer through two concrete walls” to not notice that the printer is still working when you walk into the room. I’m not exaggerating here, I’ve had printers that landed on both extremes of that scale. Better machines will use Trinamic drivers, there are some off-brand drivers out there as well that are labeled as “silent”, those aren’t always great, but they will still be better than the classic, non-silent drivers.
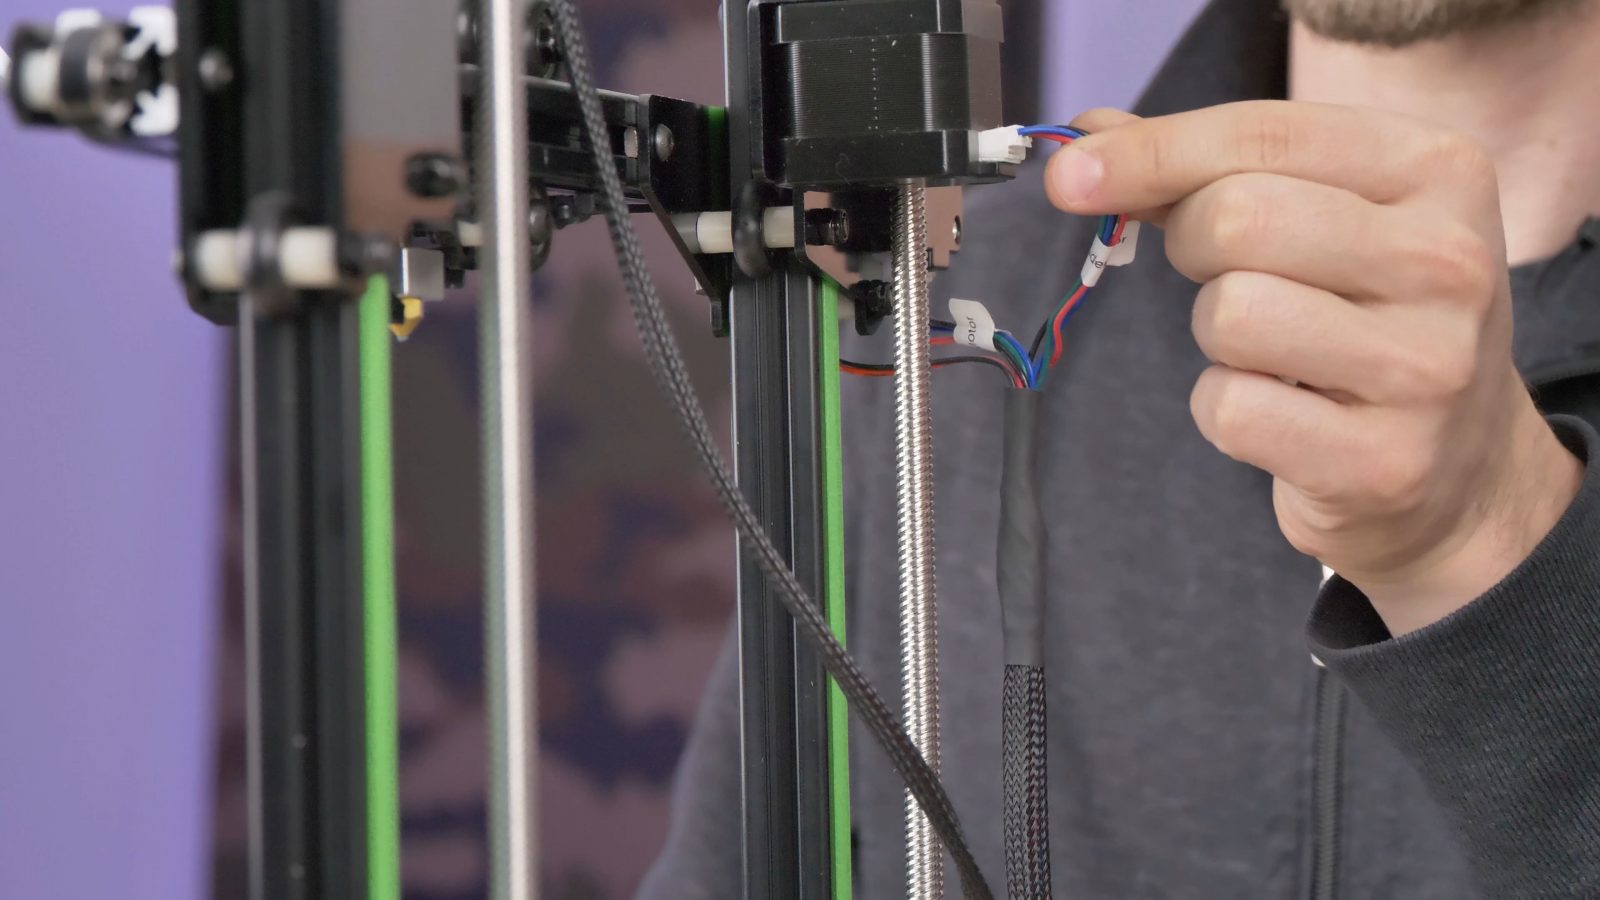
For the rest of the electronics, it’s hard to judge them based on a shop site and the manufacturer’s materials, so have a look at what other people and reviews are saying about issues that might pop up. A few printers used to ship with control boards that would sometimes set the entire printer on fire, others have bad wire management that gets caught or pulled on or bends in the wrong spots and eventually fails more or less spectacularly only after you’ve printed few spools of filaments. Loose wires hanging about the printer and spots where cables kink every time the printer moves should at least make you suspicious.
I’ve got a whole video about that here.
Motivation
For the last aspect that I want to cover in this video, you should think about why you’re getting a printer. Is it a tool for you, or is it a hobby because you want to learn about the technology. It’s totally legitimate to buy a printer with the intent to immediately start modding and upgrading it. You will learn a lot about these machines by working on them and hopefully, you’ll have mastered and understood your own machine once you’re done. But you should be realistic and allow for some snags and hiccups along the way and for being without a working printer if something doesn’t go perfectly smoothly. I’ve seen people get frustrated and give up on 3D printing entirely because they went head-first into a modding mania that they weren’t prepared for. Getting a printer that does not require mods to be at least usable at a basic level is something that I would highly recommend. Most popular printers manage to do that these days, and if you want to upgrade components like the hotend to print new materials, or add a flex bed yourself, you can usually still go in and do that. Like I mentioned in the last video, open-source machines really make that easy. Of course, if you want maximum involvement, you can also source a machine from scratch, but that’s not something I’d quite recommend as a beginner project.
If you just want a tool you can rely on, it’s probably a smart move to get a machine that has everything you’re looking for, with a warranty from the manufacturer, instead of tinkering with it yourself.
Most printers come almost completely assembled these days, but if you are considering getting a kit with a proper assembly manual, that’s a great learning experience or family project.
So, ok I think that should cover everything, pretty much. I know it’s a lot to take in, but hopefully, considering some of these basic now is going to save you some frustration later on.
Recap
Let’s do a quick recap!
To start out, a filament printer is easier and cheaper to use than a resin printer but doesn’t quite get you the same level of detail and surface finish. Pick a printer that is big enough for the parts that you want to make with it but don’t just go for the largest one you can find, and keep in mind that large prints will take significantly longer than smaller ones – sometimes even weeks.
Check what software, if any, you can use with your printer before you buy it and try running some of your designs through it.
For printer hardware, I’d recommend a cartesian machine instead of a delta, and whether that should have an all-metal hotend or a PTFE-lined one depends on what materials you want to print and what price point you’re shopping at.
Good comfort features to have are a flex bed and maybe a bed leveling sensor, but you can safely ignore the manufacturer’s claims of “resolution” or “maximum print speed”, and instead try and find out if they are using sub-par mechanical components.
Look for silent stepper drivers and the community’s experience with the electronics overall and don’t plan on relying on mods and upgrades to get a particular printer to work for you. You can still mod them to expand the functionality, but a printer should at least be usable out of the box, I think.
So that’s it for this one, in the next video, we’ll look at resin printers, until then, thank you for watching, make sure to get subscribed, keep on making, and I’ll see you later.
💙 Enjoying the videos? Support my work on Patreon!
Product links are affiliate links – I may earn a commission on qualifying purchases (at no extra cost to you)

Check out my second channel “More Layers” on YouTube for livestreams
3D Printing Basics – Episodes
- What is a 3D printer?
- Choosing a machine
- Resin printers
- Filament printer parts and maintenance
- Acquiring print files
- Basic slicer settings
- Whole 3D printing process
- Requirements for 3D printing
- Common issues
- Where to go from here